Step-by-Step DIY Nails Tutorial for Stunning Results at Home
Learn how to create stunning nails at home with our comprehensive step-by-step DIY nails tutorial. Perfect for beginners and experienced nail enthusiasts.
Are you tired of spending a fortune at the nail salon? Do you wish you could achieve salon-quality nails from the comfort of your own home? Look no further! This comprehensive DIY nails tutorial will provide you with all the tips and tricks you need to create stunning nails at home. Whether you're a novice or a seasoned nail enthusiast, this guide will help you achieve professional-looking results every time.
Why DIY Nails?
Before diving into the steps, let’s discuss why you might want to consider doing your own nails. Not only can DIY nails save you money, but they also offer the flexibility to experiment with different styles, colors, and techniques at your own pace. Additionally, performing your own manicures can be a relaxing and therapeutic activity, allowing you to express your creativity.
Essential Tools and Supplies
Nail Prep Essentials
- Nail file and buffer
- Cuticle pusher and nipper
- Nail clippers
- Nail polish remover
- Base coat
- Top coat
- Nail polish of your choice
Nail Art Supplies
- Nail brushes
- Dotting tools
- Nail stickers
- Rhinestones and glitter
- Nail art tape
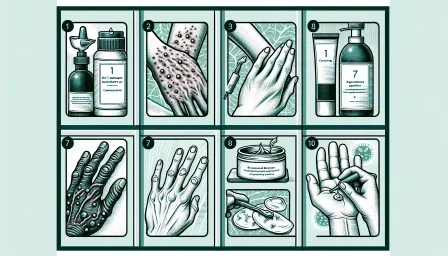
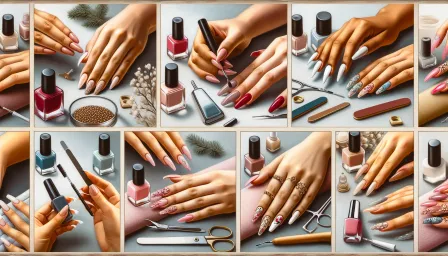
Step-by-Step DIY Nails Tutorial
Step 1: Nail Preparation
Before applying any polish, it’s crucial to prepare your nails to ensure the polish adheres well and lasts longer. Start by removing any old polish using a gentle nail polish remover. Trim and shape your nails using nail clippers and a file. Smooth any ridges with a buffer, and push back your cuticles using a cuticle pusher. If necessary, trim excess cuticle skin with nippers.
Step 2: Clean and Dehydrate
Once your nails are prepped, clean them with soap and water to remove any oils. For extra insurance, swipe each nail with a lint-free wipe soaked in rubbing alcohol or a nail dehydrator. This step helps remove residual oils that could prevent the polish from sticking well.
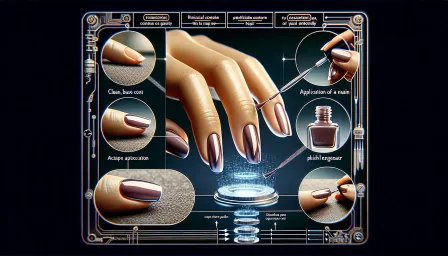
Step 3: Apply the Base Coat
A base coat is essential as it helps the polish adhere better to your nails and prevents staining. Apply a thin, even layer of base coat and allow it to dry completely before moving on to the next step.
Step 4: Apply Nail Polish
Now comes the fun part—applying your chosen nail color! Apply the polish in thin layers to avoid streaking. Start with a stroke down the center of the nail, followed by one on each side. Allow each layer to dry before applying the next. For best results, apply 2-3 layers of polish.
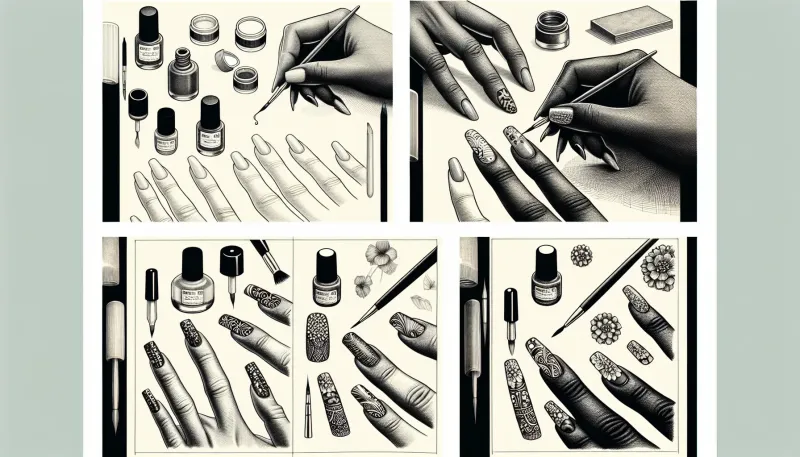
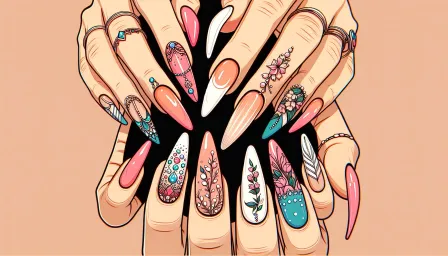
Step 5: Nail Art (Optional)
If you want to add some flair to your nails, this is the time to do it. You can use nail art brushes, dotting tools, stickers, rhinestones, or glitter to create unique designs. Take your time and be creative!
Step 6: Apply the Top Coat
The top coat is crucial for sealing your polish and adding a glossy finish. It also helps your manicure last longer by protecting it from chipping and peeling. Apply a thin layer of top coat and allow it to dry thoroughly.
Step 7: Clean Up
Once your nails are completely dry, use a small brush dipped in nail polish remover to clean up any excess polish around your cuticles and skin. This final step will give your manicure a polished and professional look.
Tips for Long-Lasting DIY Nails
- Avoid using your nails as tools.
- Wear gloves when doing household chores.
- Apply cuticle oil daily to keep your nails hydrated.
- Touch up your top coat every few days to maintain the shine and durability.
Common Mistakes to Avoid
Even with the best intentions, mistakes can happen. Here are some common pitfalls to watch out for:
- Skipping the Base Coat: This can lead to stained nails and reduced polish longevity.
- Thick Layers of Polish: Thick layers can cause bubbles and uneven drying. Always apply thin layers.
- Neglecting Dry Time: Be patient and let each layer dry completely before applying the next.
Conclusion
Achieving salon-quality nails at home is not only possible but also incredibly rewarding. By following this step-by-step DIY nails tutorial, you can master the art of at-home manicures and enjoy stunning results every time. Remember to prep your nails well, apply in thin layers, and take your time to perfect your technique. With practice and patience, your DIY nail skills will shine bright!
RELATED ARTICLES


LATEST ARTICLES