Expert Tips: How to Achieve a Flawless Manicure for Gel Nails
Discover expert tips and techniques on achieving a flawless manicure for gel nails. Master the art of gel nail application with our comprehensive guide.
Gel nails have revolutionized the world of manicures, offering long-lasting and high-gloss finishes that traditional polishes simply can't compete with. Whether you’re a professional nail technician or a DIY enthusiast, achieving a flawless manicure for gel nails requires precision, practice, and knowledge of best practices. This guide will provide you with expert tips and techniques to help you master the art of gel nail application.
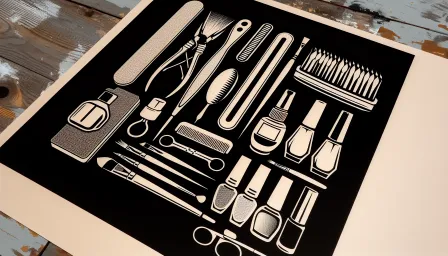
Preparing Your Nails
1. Clean and Shape
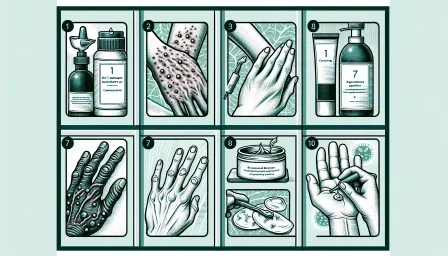
Before you even think about applying gel polish, it’s vital to start with a clean slate. Remove any old polish, and wash your hands thoroughly. Then, shape your nails using a file, ensuring they are uniform in length and shape.
2. Cuticle Care
Push back your cuticles gently using a cuticle pusher and trim any excess cuticle if necessary. This process helps create a clean edge for the polish to adhere to, which is crucial for preventing lifting.
3. Buffing the Nails
Buffing your nails creates a smooth surface and removes any oils. Use a buffing block to lightly buff each nail, ensuring you cover all surfaces evenly. This step is essential for gel nails because it helps the base coat to properly adhere to the natural nail.
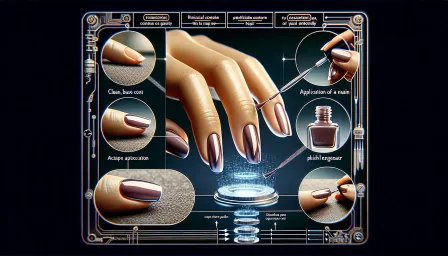
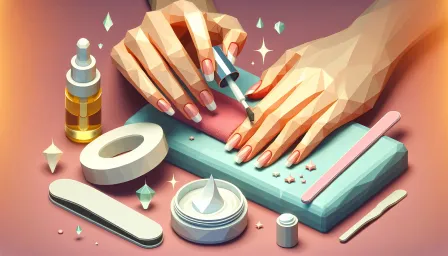
Application Process
1. Base Coat
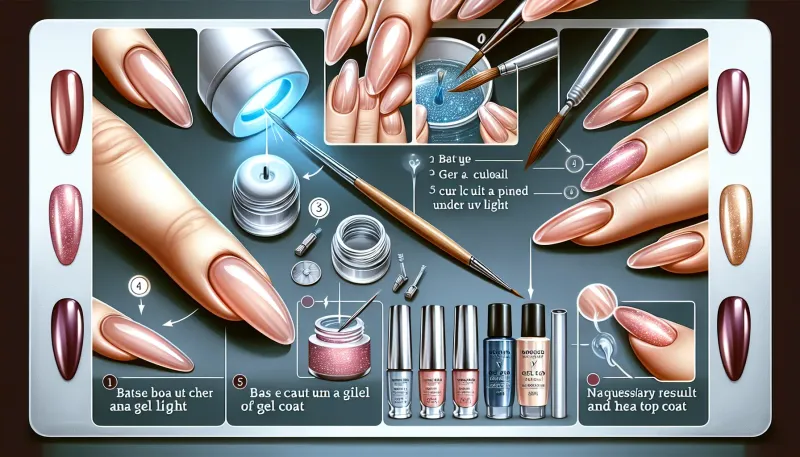
The base coat is the foundation of your manicure for gel nails. Apply a thin layer of base coat to each nail, cap the edges, and cure under the UV/LED lamp according to the manufacturer’s instructions. Capping the edges is crucial as it helps in preventing chipping.
2. Applying Gel Polish
When applying the gel polish, thin layers are key to avoid bubbling and uneven curing. Apply the first thin layer of color, cap the edges, and cure. Repeat with a second coat for full opacity, curing again. If needed, a third thin layer can be applied for deeper colors.
3. Top Coat
Seal your manicure with a high-gloss top coat. Ensure you cap the edges for all layers. The top coat not only adds shine but also protects your manicure, ensuring longevity. Cure the top coat completely to set the gel polish.
Post-Application Care
1. Wipe Off Residue
Once your top coat is cured, there will be a sticky layer of residue. Use a lint-free wipe and isopropyl alcohol to gently remove this, leaving a smooth and glossy finish.
2. Hydration
After all that work, give your nails and hands some TLC. Apply cuticle oil and hand lotion to keep your skin hydrated and nails healthy.
3. Avoiding Damage
To prolong your flawless manicure for gel nails, avoid using your nails as tools, and minimize exposure to harsh chemicals such as cleaning products. Wearing gloves can prevent premature chipping and lifting.
Common Mistakes and How to Avoid Them
1. Thick Layers
Applying gel polish in thick layers can lead to bubbling and improper curing. Always opt for thin, even coats.
2. Skipping the Base Coat
The base coat is essential for proper adhesion and longevity. Skipping this step can lead to lifting and chipping.
3. Inadequate Curing
Ensure you cure each layer completely. Under-curing can cause the polish to remain tacky and may lead to early lifting.
4. Neglecting Nail Prep
Proper nail prep, including cleaning, shaping, and buffing, is crucial for a long-lasting finish. Neglecting prep work can compromise your gel manicure.
Conclusion
Achieving a flawless manicure for gel nails is an art that combines technique, patience, and care. By following the expert tips outlined in this guide, you can ensure a professional-looking gel manicure every time. Remember, practice makes perfect, so don’t be discouraged if it takes a few tries to master the process. Your nails will thank you for the effort!
RELATED ARTICLES


LATEST ARTICLES