Stunning Nail Art for Holidays: Get Festive with These Creative Designs
Discover stunning nail art for the holidays that combines creativity and festivity. Explore our top tips and designs to make your holiday nails stand out.
Holidays are a time for celebration, and there's no better way to showcase your festive spirit than with some stunning nail art for holidays. Whether you’re attending a holiday party or simply want to add some cheer to your everyday look, creative nail art can elevate your style and keep you in the festive mood. In this article, we will dive into some of the best holiday nail designs and tips to help your nails shine bright this season.
Why Nail Art for Holidays is Popular
Nail art has become an essential part of holiday preparations for many people. It’s a way to express creativity, celebrate the season, and complement holiday outfits. With numerous design options available, nail art can cater to different tastes—from subtle winter themes to extravagant holiday extravaganzas. Additionally, taking the time to create or choose a nail design can be a relaxing and enjoyable activity during the sometimes hectic holiday season.
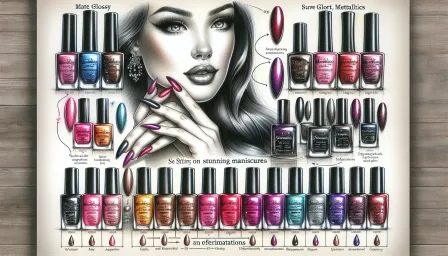
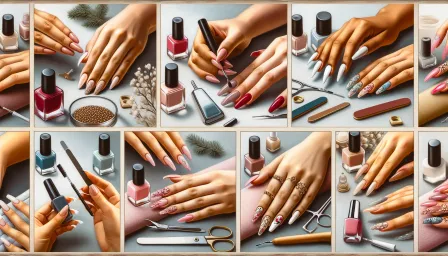
Top Holiday Nail Art Trends
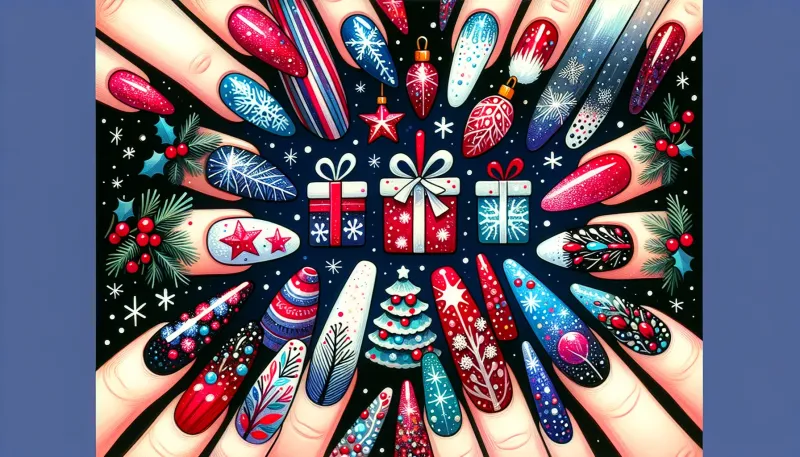
1. Classic Red and Green
Red and green are the quintessential colors of the holiday season. Whether you opt for solid colors or intricate patterns, incorporating these hues into your nail art is a surefire way to evoke festive vibes. Consider using a glittery red polish or adding green accents like holly leaves or Christmas trees.
2. Sparkling Snowflakes
Snowflakes are a beautiful and versatile design element for holiday nails. They can be as simple or as detailed as you like. White snowflakes on a blue or silver background can create a frosty, winter wonderland look. Adding a touch of glitter can further enhance the sparkling, icy effect.
3. Festive Character Designs
Add some fun to your holiday nails with designs featuring festive characters such as Santa Claus, reindeers, or snowmen. These playful designs can be a hit at holiday gatherings and are sure to bring a smile to everyone's face. Using fine-tipped brushes and dotting tools can help in achieving detailed character designs.
4. Glamorous Gold and Silver
Gold and silver are timeless holiday colors that exude elegance and sophistication. These metallic hues can be used as base colors or as accents in your nail art. Try using gold foil, silver stripes, or a mix of glitter and shimmer polishes to create a luxe look perfect for holiday parties.
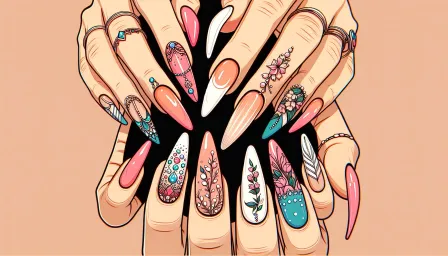
5. Minimalist Chic
For those who prefer a more subtle approach, minimalist designs can still keep the spirit of the holidays alive without going overboard. Think simple geometric shapes, understated accents, or neutral colors with a hint of sparkle. These designs are perfect for everyday wear and can easily transition from work to holiday festivities.
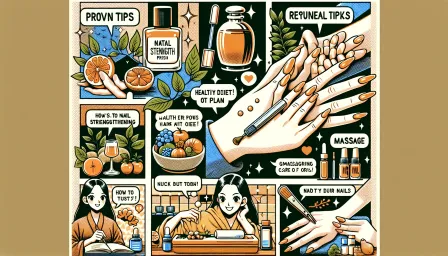
DIY Holiday Nail Art Tips
Creating your own holiday nail art can be a fun and rewarding experience. Here are some tips to help you achieve stunning results:
1. Prepare Your Nails
Before you begin, ensure your nails are clean and well-prepped. Remove any old nail polish, file your nails into your desired shape, and push back your cuticles. Applying a base coat can also help protect your nails and ensure a smooth application of your nail art.
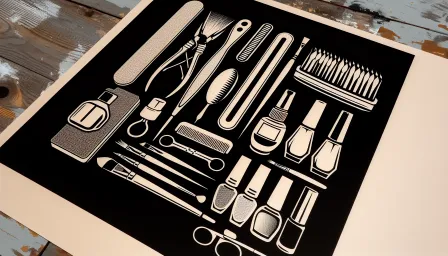
2. Use Quality Tools and Products
Invest in good quality nail polishes, brushes, and other tools. High-quality products not only make application easier but also provide better durability and finish. Make sure you have a range of brushes, dotting tools, and possibly some nail art stickers or stencils to aid your design process.
3. Plan Your Design
It’s helpful to plan your design in advance. Sketch out your ideas on paper or use a practice nail palette to visualize how the final result will look. This step can also save you time and prevent mistakes during the actual application.
4. Take Your Time
Patience is key when it comes to nail art. Work slowly and methodically to ensure each element of your design is neat and precise. Allow each layer of polish to dry completely before adding the next to prevent smudging.
5. Seal Your Design
Once you’re happy with your design, apply a top coat to seal it in and add extra shine. A good top coat can also prolong the lifespan of your nail art, keeping it looking fresh throughout the holiday season.
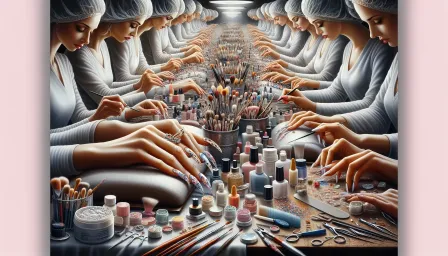
Professional Nail Art Services
If DIY isn’t your thing or you’re looking for something extra special, consider visiting a professional nail salon. Experienced nail artists can bring your holiday nail art visions to life with techniques and tools that may not be easily accessible at home. Professional services can also save you time and ensure a flawless finish.
Conclusion
Whether you choose to create your own designs or enlist the help of a professional, nail art for holidays provides a delightful way to celebrate the season. With countless designs to choose from, there’s something for everyone. So, don’t hesitate to get creative—and let your nails join in on the festive fun. Happy holidays and happy decorating!
RELATED ARTICLES


LATEST ARTICLES