DIY Nails for Gel Nails: A Step-by-Step Guide to Salon-Quality Results at Home
Learn how to achieve salon-quality results with our comprehensive guide on DIY nails for gel nails. Step-by-step instructions, tips, and tricks for flawless gel nails at home.
Tired of spending a fortune at the salon for gel nails? This comprehensive guide on DIY nails for gel nails will show you how to achieve salon-quality results right at home. Follow these steps and tips to ensure your gel nails look fabulous and last just as long as those done by a professional.
Why Choose Gel Nails?
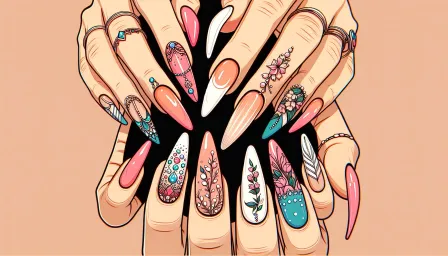
Gel nails have gained immense popularity due to their long-lasting nature and glossy finish. When compared to regular nail polish, gel nails are more durable, chip-resistant, and have a superior shine. Additionally, the curing process under UV or LED light ensures that they stay in place for up to three weeks without any signs of wear or tear.
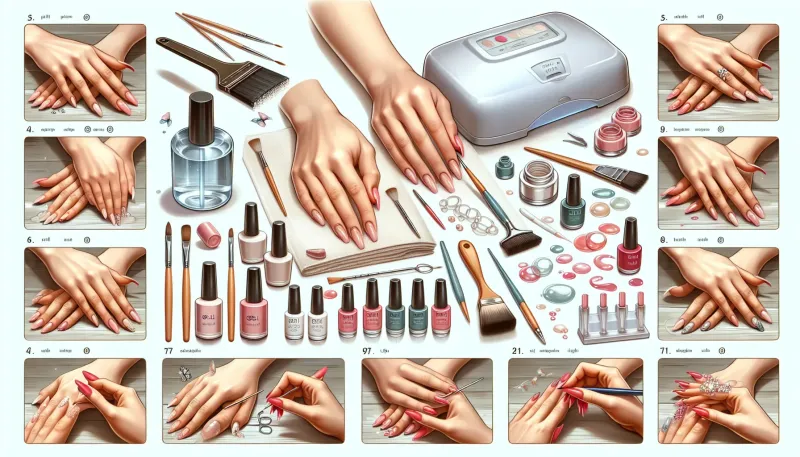
What You Need for DIY Gel Nails
Before diving into the process, it's essential to gather all the necessary tools and products. Here's a list of items you'll need:
- Gel nail polish (base coat, color polish, top coat)
- UV or LED nail lamp
- Nail file and buffer
- Cuticle pusher and nippers
- Lint-free wipes
- Rubbing alcohol or nail cleanser
- Cuticle oil
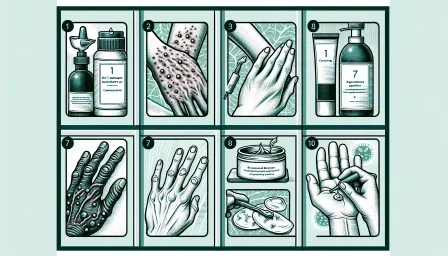
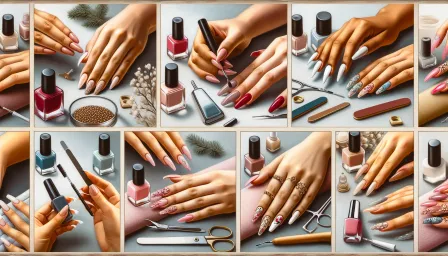
Step-by-Step Guide to DIY Gel Nails
Step 1: Prepare Your Nails
Start by washing your hands thoroughly to remove any oils and dirt. Use a nail file to shape your nails to your desired length and style. Next, gently push back your cuticles using a cuticle pusher and trim any excess skin with cuticle nippers. Buff the surface of your nails lightly to create a smooth canvas and remove any natural shine.
Step 2: Cleanse Your Nails
Using a lint-free wipe, cleanse your nails with rubbing alcohol or a specialized nail cleanser. This step is crucial to ensure that no oils or debris remain on the nail surface, which can hinder the adhesion of the gel nail polish.
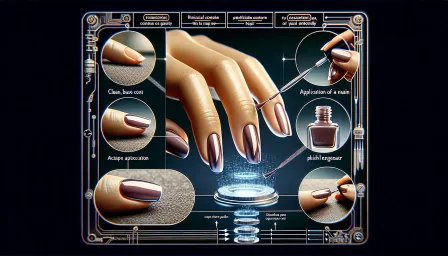
Step 3: Apply the Base Coat
Begin by applying a thin layer of gel base coat to your nails. Be careful to avoid the skin and cuticles, as this can cause lifting and peeling. Cure the base coat under your UV or LED lamp according to the manufacturer’s instructions.
Step 4: Apply the Gel Color
Apply a thin layer of your chosen gel color polish to your nails, making sure to cover the entire nail surface evenly. Avoid getting the polish onto your skin. Cure under the UV or LED lamp. Depending on the opacity of the polish, you may need to apply 2-3 coats, curing each coat in between.
Step 5: Seal with Top Coat
Finish by applying a thin layer of gel top coat. This will seal in the color and add a high-gloss shine. Cure the top coat under the lamp, ensuring it is completely dry and hard.
Post-Application Care
Once your gel nails are fully cured and dried, use a lint-free wipe soaked in rubbing alcohol to remove any sticky residue from the top coat. Apply cuticle oil to nourish your nails and cuticles, promoting healthy nail growth and hydration.
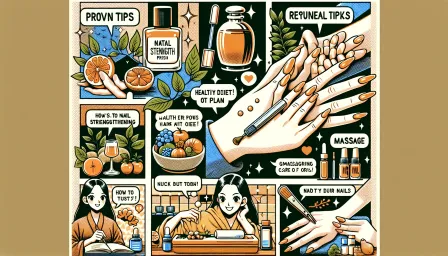
Tips for Long-Lasting Gel Nails
- Avoid soaking your hands in water for extended periods, as this can cause premature lifting.
- Wear gloves when doing household chores to protect your nails from harsh chemicals and abrasion.
- Reapply cuticle oil daily to keep your nails and cuticles moisturized.
- Touch up any chips or lifting immediately to prevent further damage.
- Avoid using your nails as tools to open or pick objects, as this can shorten the life of your gel manicure.
Common Mistakes to Avoid
Even with careful application, mistakes can happen. Here are some common pitfalls to avoid:
- Applying thick layers: Thin layers cure more evenly and are less likely to peel.
- Skipping nail prep: Proper nail preparation ensures better adhesion of the gel polish.
- Not curing fully: Always follow the curing times recommended by the gel polish manufacturer.
- Flooding the cuticle area: Gel polish that touches the cuticles can cause lifting.
Removing Gel Nails at Home
Step-by-Step Removal Process
Proper removal of gel nails is essential to avoid damaging your natural nails. Follow these steps:
- File the top layer of your gel manicure to break the seal.
- Soak a cotton ball in acetone and place it on your nail.
- Wrap your nail with aluminum foil to keep the cotton ball in place.
- Leave for about 15-20 minutes, allowing the acetone to soften the gel polish.
- Gently push off the softened gel polish using a cuticle pusher.
- Buff the nail surface lightly and apply cuticle oil to nourish your nails.
Conclusion
Achieving salon-quality gel nails at home is possible with the right tools, products, and techniques. Follow this step-by-step guide on DIY nails for gel nails to enjoy beautiful, long-lasting manicures without breaking the bank. Remember, practice makes perfect, so don't get discouraged if you don't get it right the first time. Happy nail painting!
RELATED ARTICLES


LATEST ARTICLES