How to Properly Remove Gel Nails at Home
Learn proven methods for safe and effective gel nails removal at home. Ensure healthy nails with these expert tips and step-by-step guides.
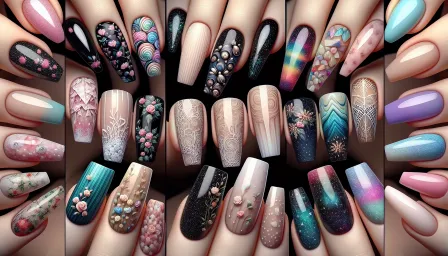
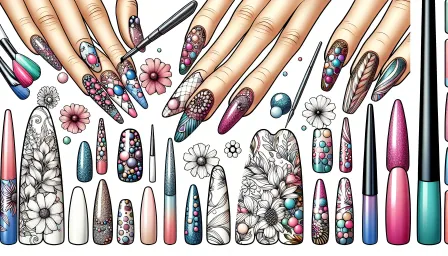
Gel nails are a popular choice among beauty enthusiasts for their durability and lasting shine. However, improper removal can damage your natural nails and lead to other problems. In this article, we will guide you through the process of how to properly remove gel nails at home to maintain the health of your nails.
Understanding Gel Nails
Before diving into the removal process, it's important to understand what gel nails are. Gel nails are created using a gel-based polish that is hardened under UV or LED light. They are known for their longevity, typically lasting two to three weeks without chipping.
Why Proper Removal Matters
Improper removal of gel nails can lead to several issues such as weakened nails, splitting, and peeling. By following a proper removal technique, you can prevent these problems and keep your natural nails healthy.
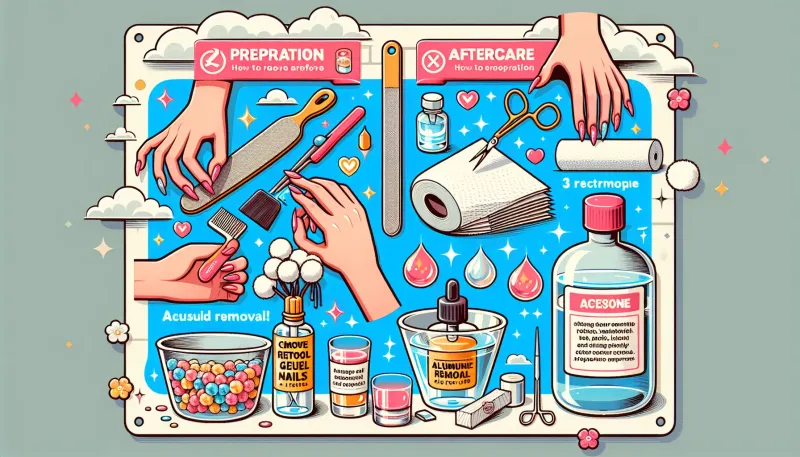
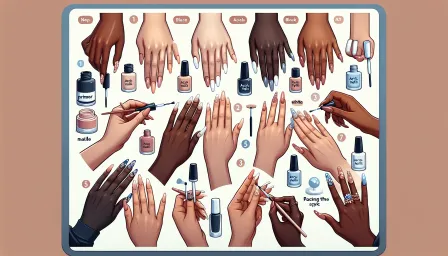
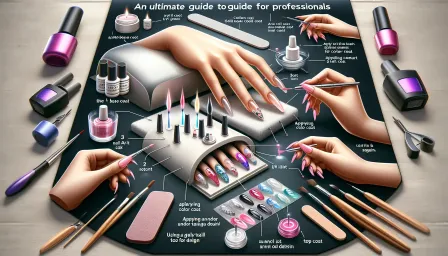
Tools You'll Need
- Nail file
- Acetone
- Cotton balls or pads
- Aluminum foil
- Cuticle pusher
- Nail buffer
- Nail oil or hand cream
Step-by-Step Guide to Gel Nails Removal
Step 1: File the Top Coat
Start by gently filing the top coat of your gel nails. This will break the seal and make it easier for the acetone to penetrate the gel. Make sure to file evenly across the surface of each nail.
Step 2: Soak Cotton Balls in Acetone
Next, soak cotton balls or pads in acetone. Ensure they are thoroughly saturated but not dripping.
Step 3: Secure the Cotton Balls with Aluminum Foil
Place the soaked cotton balls on each nail and wrap them securely with small pieces of aluminum foil. This will keep the acetone in contact with the gel polish and help it break down more effectively.
Step 4: Wait for 10-15 Minutes
Allow the acetone to work on the gel nails for about 10-15 minutes. During this time, you should feel the gel starting to loosen.
Step 5: Remove the Foil and Cotton Balls
Carefully remove the foil and cotton balls from each nail. The gel polish should appear lifted and flaky.
Step 6: Gently Push Off the Gel
Using a cuticle pusher, gently push off the remaining gel polish from your nails. Be careful not to scrape or damage the natural nail underneath.
Step 7: Buff and Nourish
Once all the gel is removed, buff your nails with a nail buffer to smooth any rough edges. Finish by applying nail oil or hand cream to nourish and hydrate your nails and cuticles.
Alternative Methods for Gel Nail Removal
If you don't have acetone or prefer a less harsh method, there are alternative ways to remove gel nails at home:
Soaking in Warm Soapy Water
Soaking your nails in warm, soapy water can help to soften the gel polish. Although this method is gentler, it may take longer and require more patience.
Using a Gel Nail Removal Kit
There are various gel nail removal kits available on the market that come with specialized tools and solutions for removing gel polish safely.
Common Mistakes to Avoid
- Peeling Off Gel Nails: Peeling or picking at gel nails can strip layers of your natural nail, causing damage.
- Not Allowing Enough Soaking Time: Being impatient and not allowing enough time for the acetone to work can make removal more difficult and may harm your nails.
- Using Excessive Force: Avoid using excessive force when pushing off the gel polish to prevent damage to your natural nails.
Post-Removal Nail Care
After removing gel nails, your natural nails may need some extra care and attention. Here are some tips to maintain nail health:
- Moisturize Regularly: Use a good quality hand cream and cuticle oil to keep your nails and surrounding skin hydrated.
- Give Your Nails a Break: Allow some time between gel applications to let your natural nails breathe and recover.
- Use Nail Strengtheners: Consider using a nail strengthener to help reinforce your nails if they feel weak or brittle.
Conclusion
Removing gel nails at home doesn't have to be a daunting task. By following these steps and avoiding common mistakes, you can safely and effectively remove gel polish while maintaining the health of your natural nails. Remember to nourish and protect your nails post-removal to keep them strong and healthy for your next manicure.
RELATED ARTICLES


LATEST ARTICLES