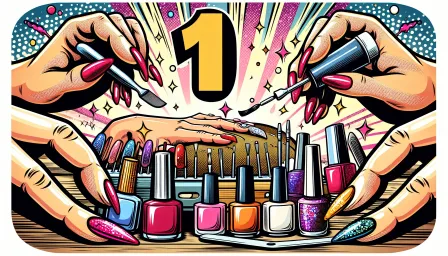
DIY Nails for Short Nails: Easy and Stylish Designs You Can Do at Home
Discover easy and stylish DIY nail designs perfect for short nails. Our guide provides step-by-step instructions to create stunning nails at home, saving you time and money.
Having short nails doesn’t mean you can't enjoy chic and stylish nail designs. Whether you trim your nails by choice or necessity, you can still create eye-catching DIY nails for short nails at home. In this guide, we'll walk you through various designs and techniques that are perfect for short nails, ensuring your hands look fabulous all the time.
The Basics of DIY Nails for Short Nails
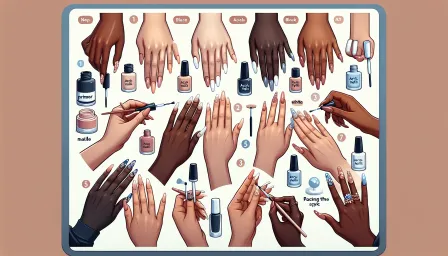
Before diving into specific nail designs, it’s essential to understand the basics of nail care and preparation. Maintaining healthy nails can make a significant difference in how your DIY nails turn out.
Nail Preparation
Start by cleaning your nails thoroughly. Remove any old polish and soak your nails in warm, soapy water for a few minutes. This will soften any debris and make it easier to clean. Follow this by gently pushing back your cuticles with a cuticle stick and trimming any hangnails. Finally, file your nails to your desired shape using a nail file. For short nails, a rounded or square shape often works best.
Nail Care Tips
- Moisturize Daily: Keep your nails and cuticles hydrated using cuticle oil or hand cream. This prevents dryness and cracking.
- Limit Water Exposure: Try to wear gloves when washing dishes or doing any activity that involves prolonged water exposure.
- Use a Base Coat: Always apply a base coat before your nail polish to protect your nails from staining and to create a smooth surface.
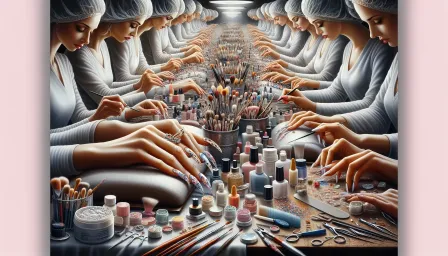
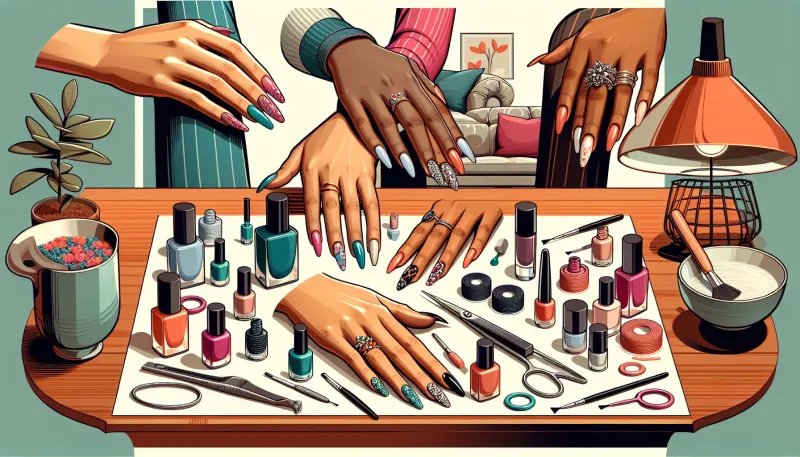
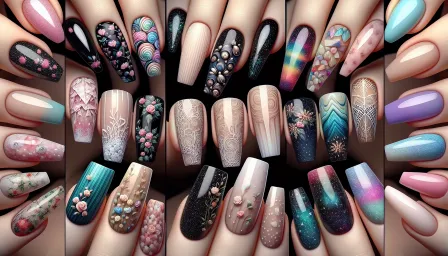
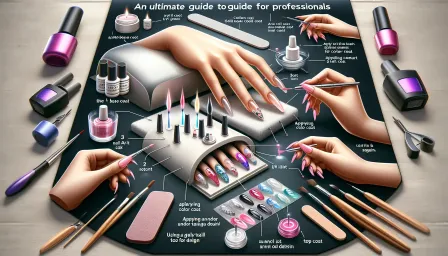
Simple and Stylish DIY Nail Designs
Now that your nails are prepped and healthy, it’s time to explore some fun and easy DIY nail designs. These styles are perfect for short nails and can be done with minimal tools and polish shades.
1. Classic French Manicure
The French manicure is a timeless style that looks sophisticated on all nail lengths. For short nails, you can create a subtle look that elongates the fingers.
- Apply a light pink or nude base coat and let it dry.
- Using a white nail polish, carefully paint the tips of your nails. You can use French manicure stickers to ensure clean lines.
- Finish with a clear top coat for a glossy finish.
2. Polka Dot Delight
Polka dots are a fun and playful design that is easy to achieve using a dotting tool or the end of a bobby pin.
- Choose a base color and apply it evenly on your nails.
- Dip your dotting tool into a contrasting polish and create dots on your nails. You can arrange them in neat rows or scatter them for a whimsical look.
- Seal your design with a top coat.
3. Stripes and Chic
Stripes are an elegant and simple design that can be easily achieved with striping tape or a fine brush.
- Paint your nails with a base coat of your choice.
- Once dry, place striping tape horizontally or vertically on your nails.
- Paint over the tape with a second color and remove the tape before the polish dries.
- Finish with a top coat.
4. Gradient Ombre
Ombre nails create a beautiful gradient effect that can be achieved using a makeup sponge.
- Select two or three colors that blend well together, and paint your nails with the lightest shade.
- On a makeup sponge, apply the colors in stripes, slightly overlapping them.
- Dab the sponge onto your nails to transfer the gradient. Repeat if necessary for a more intense effect.
- Clean the edges and apply a top coat.
Advanced Designs for the Adventurous
If you’re feeling a bit more adventurous, try your hand at these advanced designs. They may take a bit more time and patience, but the results are worth it!
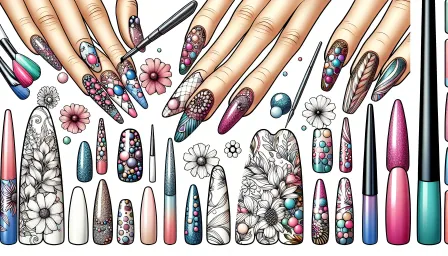
5. Floral Fantasy
Floral designs can add a touch of elegance and femininity to your nails.
- Start with a base coat of your choice.
- Using a fine brush, draw tiny flowers with different shades of polish. Add dots in the center for detail.
- Allow the design to dry thoroughly before applying a top coat.
6. Geometric Patterns
Geometric patterns are trendy and ultra-modern.
- Paint your nails with a solid base color.
- Using striping tape or a fine brush, create various geometric shapes such as triangles, squares, and lines with contrasting colors.
- Seal the design with a clear top coat.
7. Marble Effect
The marble effect creates a stunning and sophisticated look that resembles real marble.
- Paint your nails with a base color, typically white.
- On a piece of plastic wrap, apply a few drops of different polish colors.
- Mix the colors slightly with a toothpick and press the plastic wrap onto your nails.
- Remove the wrap to reveal the marbled effect and finish with a top coat.
Conclusion
DIY nails for short nails are not only possible but can also look incredibly chic and stylish. By following the steps and designs outlined in this guide, you can create beautiful and unique nails in the comfort of your home. Remember to keep your nails healthy and experiment with different colors and patterns to find what suits you best. Happy nail designing!
RELATED ARTICLES


LATEST ARTICLES