Ultimate Gel Nails for Professionals Guide: Tips, Tricks & Techniques
A comprehensive guide on gel nails for professionals, including tips, tricks, and advanced techniques to master gel manicures.
Gel nails have become the go-to choice for many clients seeking long-lasting, beautiful manicures. For professionals, mastering the art of gel nails can set you apart in a competitive market. This comprehensive guide provides tips, tricks, and advanced techniques specifically tailored for professional nail technicians.
Introduction to Gel Nails
Gel nails are a type of artificial nails that closely resemble the natural nail. Unlike acrylic nails that use a powder and liquid combination, gel nails are pre-mixed polymers and monomers that harden when exposed to UV or LED light. The result is a durable, high-gloss nail that can last up to three weeks without chipping or peeling.
Why Choose Gel Nails?
Gel nails offer several advantages over other types of manicures:
- Durability: Gel nails are known for their strength and longevity.
- High Shine: They provide a glossy finish that lasts the entire duration of the manicure.
- Nail Protection: The gel acts as a protective layer for the natural nail, preventing breakage.
- Versatility: Gel nails can be extended, shaped, and designed in various styles.
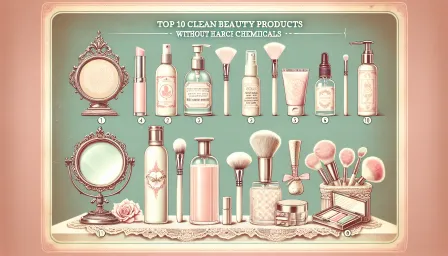
Essential Tools and Materials
Before diving into the techniques, it’s crucial to have the right tools and materials:
- UV/LED Lamp
- Base Coat
- Top Coat
- Gel Polish Colors
- Nail Primer
- Nail Cleanser
- Nail File and Buffer
- Cuticle Pusher and Trimmer
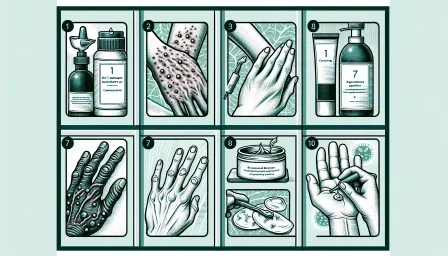
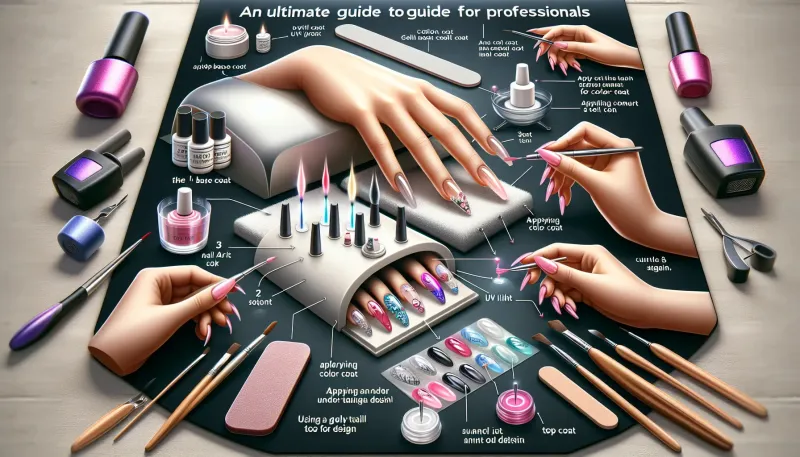
Step-by-Step Gel Nail Application
1. Preparation
The first step in any gel manicure is proper nail preparation. This includes:
- Sanitizing: Ensure your hands and tools are sanitized to prevent infections.
- Shaping: File the natural nails to the desired shape and length.
- Cuticle Work: Use a cuticle pusher to gently push back cuticles and trim any excess.
- Buffing: Buff the nail surface lightly to remove shine and help the gel adhere better.
2. Applying Base Coat
Apply a thin layer of base coat to the prepared nails. Cure under UV/LED light for the recommended time. This step is crucial for providing a smooth surface for the gel polish and preventing it from lifting.
3. Gel Polish Application
Apply the gel polish in thin layers, ensuring even coverage. Cure each layer under the UV/LED lamp. Typically, two to three coats are required for full opacity.
4. Top Coat Application
Once the desired color intensity is achieved, apply a thin layer of top coat. Cure under the UV/LED light. The top coat seals the gel polish and provides a high-gloss finish.
5. Final Touches
After curing the top coat, wipe off the sticky residue with a lint-free wipe soaked in nail cleanser. Finish by moisturizing cuticles with cuticle oil.
Troubleshooting Common Issues
Lifting
Lifting is a common issue where the gel separates from the natural nail:
- Ensure thorough nail preparation: Properly buffing and cleaning the nail surface is essential.
- Avoid touching the nail surface: Oils from your skin can cause lifting.
Thick Applications
Applying gel polish too thickly can lead to wrinkling or curing issues:
- Thin, even coats: Apply gel polish in thin, even layers for better curing.
- Avoid overloading the brush: Wipe off excess polish before application.
Advanced Techniques for Professionals
Nail Extensions
For clients desiring longer nails, gel nail extensions are a popular option. Use nail forms or tips to create the desired length and shape before applying the gel.
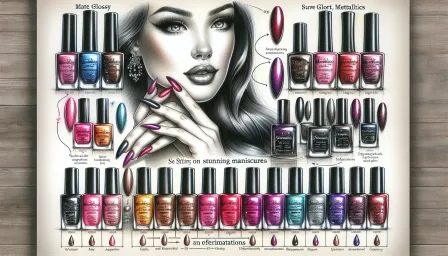
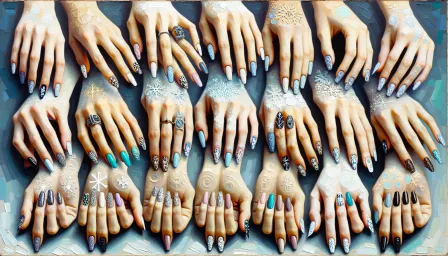
Nail Art
Gel polish offers endless possibilities for nail art. From simple designs like stripes and dots to intricate patterns and 3D decorations, creativity is your only limit.
Ombre Gel Nails
Ombre nails are a popular trend where two colors blend seamlessly. Use a makeup sponge to apply the gradient effect and blend the colors smoothly.
Maintenance and Removal
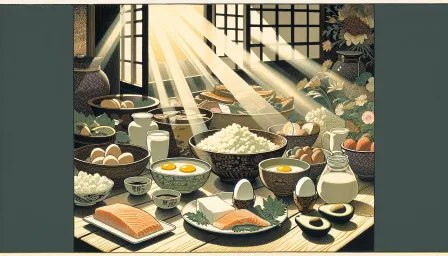
Maintenance Tips
- Regular Touch-Ups: Schedule regular touch-ups every 2-3 weeks to maintain the manicure.
- Avoid Harsh Chemicals: Advise clients to avoid harsh chemicals and wear gloves when necessary.
Safe Removal
Removal is a critical step that should be done carefully to prevent damage to the natural nail:
- Soak-Off: Soak a cotton ball in acetone, place it on the nail, and wrap it with foil. Leave it for 10-15 minutes before gently sliding off the gel.
- Buff and File: Gently buff the nail surface to remove any remaining gel.
Conclusion
Mastering the art of gel nails for professionals requires practice, patience, and continual learning. By following these tips, tricks, and techniques, you can offer your clients stunning, long-lasting gel manicures that enhance your reputation as a skilled nail technician. With the right tools and knowledge, you can take your gel nail services to the next level.
RELATED ARTICLES


LATEST ARTICLES