Top 10 Tips for Applying Acrylic Nails for Natural Nails
Discover the top 10 tips for applying acrylic nails to natural nails, ensuring a professional finish and long-lasting wear.
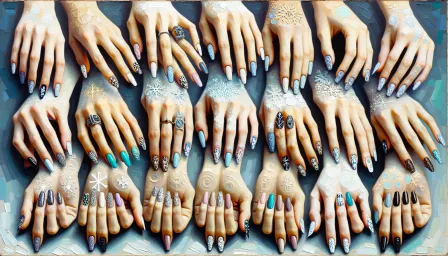
Acrylic nails can provide a stylish, durable alternative to natural nails, perfect for both everyday wear and special occasions. If you're looking to apply acrylic nails to natural nails, it's essential to do so correctly to avoid damage and achieve a professional finish. Here are our top 10 tips to ensure the best results for acrylic nails for natural nails.
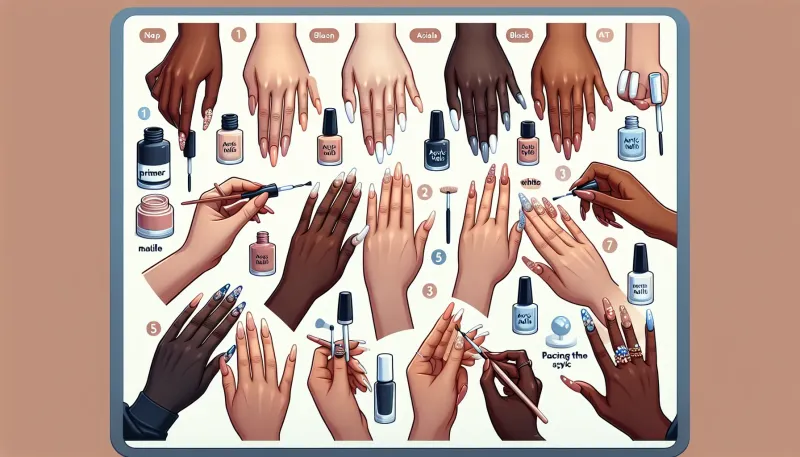
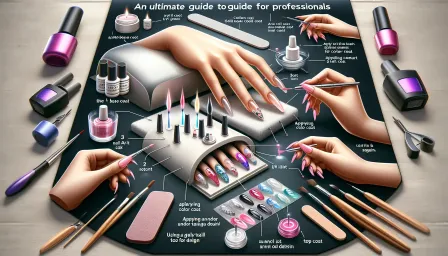
1. Gather Your Supplies
Before starting, ensure you have all the necessary tools and materials. The essential items include acrylic nail tips, acrylic liquid, acrylic powder, nail glue, a nail file, a buffer, a cuticle pusher, and a brush designed for acrylic application.
2. Prepare Your Natural Nails
Clean and Trim
Begin by washing your hands thoroughly to remove any dirt or oils. Trim your natural nails to your desired length and file them into your desired shape.
Push Back Cuticles
Use a cuticle pusher to gently push back your cuticles. This helps to ensure that the acrylic nails adhere properly to your nail bed without lifting.
3. Buff Your Nails
Buff the surface of your natural nails lightly to remove the shine. This adds texture to the nail surface, helping the acrylic adhere better and last longer.
4. Prime Your Nails
Apply a nail primer to your natural nails. Primers help to remove residual oils and create a better bonding surface for the acrylic. Ensure you use a primer designed for acrylic nails for optimal results.
5. Apply Nail Tips
Choose the Right Size
Select acrylic nail tips that fit the width of your natural nails. The tips should fit snugly without overlapping onto your skin or cuticle areas.
Attach the Tips
Apply a small amount of nail glue to the well of the nail tip, then press it onto your natural nail. Hold it in place for a few seconds to ensure it adheres properly. Trim and shape the tips to your desired length and shape.
6. Mix the Acrylic
Pour the acrylic liquid into a small dish and dip your brush into it. Then, dip the brush into the acrylic powder to create a bead of acrylic. It's essential to get the right consistency—too wet or too dry can lead to poor results.
7. Apply the Acrylic
Apply the acrylic mixture to the nail tips and your natural nails in small, controlled strokes. Start at the base and work your way to the tip, ensuring an even and smooth application. Use the brush to shape and blend the acrylic for a natural look.
8. Shape and File
Once the acrylic has hardened, use a nail file to shape your nails. File the edges and surface to achieve your desired look and smooth out any imperfections. Be careful not to file too aggressively, as this can weaken the acrylic.
9. Buff and Shine
After shaping, use a buffer to smooth the surface of the acrylic nails. Buffing helps to create a smooth base for any nail polish and gives your nails a natural, polished look.
10. Apply Finishing Touches
You can now apply nail polish to your acrylic nails if desired. Use a base coat, two layers of your favorite nail polish, and finish with a top coat to seal and protect your nails. Additionally, apply cuticle oil to keep your cuticles moisturized and healthy.
Conclusion
Applying acrylic nails for natural nails can be a rewarding process when done correctly. By following these tips, you can achieve professional-looking acrylic nails that are durable and beautiful. Remember, practice makes perfect, so don't be discouraged if you don't get it right the first time. Enjoy your beautiful new nails!
RELATED ARTICLES


LATEST ARTICLES