Mastering DIY Nails for Acrylic Nails: A Beginners Guide
Learn the essentials of DIY nails for acrylic nails. This comprehensive guide offers tips, techniques, and insights for achieving salon-quality results at home.
If you're intrigued by the vibrant world of acrylic nails and want to try your hand at creating stunning nail art at home, you're in the right place. This comprehensive guide covers everything you need to know about DIY nails for acrylic nails, providing a step-by-step approach tailored for beginners.
Understanding Acrylic Nails
Acrylic nails are a popular form of nail enhancement made from a mixture of liquid and powder. This combination creates a hard, protective layer that can be shaped and painted, allowing for endless nail art possibilities. Here’s a brief overview of the key components:
- Liquid Monomer: The liquid part of the acrylic mixture; it reacts with the acrylic powder to create a malleable substance.
- Acrylic Powder: The powder component that hardens when combined with the liquid monomer.
- Nail Tips: These are optional extensions glued to the natural nail to add length before applying the acrylic mixture.
Essential Tools and Materials
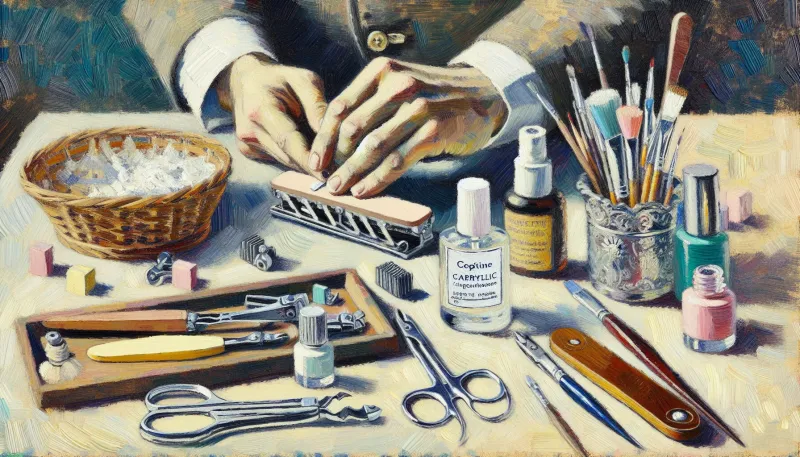
Before diving into DIY acrylic nails, ensure you have the necessary tools and materials. Here’s a checklist to get you started:
- Nail file and buffer
- Nail dehydrator and primer
- Liquid monomer and acrylic powder
- Acrylic nail brush
- Nail forms or tips (if adding length)
- Top coat and base coat
- Cuticle pusher and cuticle oil
- Lint-free wipes and acetone (for cleaning)
Step-by-Step Guide to Applying Acrylic Nails
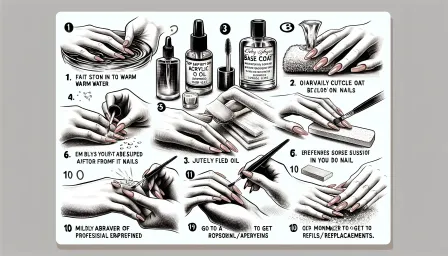
1. Prep Your Natural Nails
Start with clean, dry nails. Remove any old polish and push back your cuticles using a cuticle pusher. Use a nail file to shape your natural nails and a buffer to create a rough surface for better adhesion.
2. Apply Nail Forms or Tips
If you're adding length, choose the appropriate nail tips and glue them to your natural nails. Alternatively, use nail forms to create extensions directly with acrylic. Ensure they are securely in place.
3. Dehydrate and Prime
Apply a nail dehydrator to remove oils from the nail surface, followed by a primer to enhance acrylic adhesion. These steps are crucial for long-lasting results.
4. Mix and Apply Acrylic
Dip your acrylic nail brush in liquid monomer and then into the acrylic powder to form a bead. Apply the bead to your nail, starting at the apex (stress area) and working towards the tip. Use smooth, controlled strokes to shape and blend the acrylic.
5. Shape and Buff
Once the acrylic has hardened (typically within a few minutes), use a nail file to refine the shape and a buffer to smooth the surface. Ensure an even and natural look.
6. Apply Top Coat
Finish with a top coat to seal and protect your acrylic nails. Cure under a UV/LED lamp if using a gel top coat. Apply cuticle oil to nourish your cuticles and maintain healthy nails.
Common Mistakes to Avoid
DIY nails for acrylic nails can be tricky at first. Here are some common mistakes to avoid:
- Using Too Much Liquid: Maintain the right ratio of liquid monomer to acrylic powder to prevent runny or brittle nails.
- Skipping Primer: Primer is essential for adhesion; skipping this step can result in lifting and chipping.
- Improper Curing: Ensure the acrylic is fully cured before shaping to avoid breakage and unevenness.
Maintenance and Care Tips
Maintaining your acrylic nails is crucial for their longevity. Here are some tips to keep them looking fabulous:
- Avoid using your nails as tools to prevent breakage.
- Regularly apply cuticle oil to keep your cuticles hydrated.
- Schedule regular fill-ins every 2-3 weeks to maintain the integrity of the acrylic.
Conclusion
Mastering DIY nails for acrylic nails is a rewarding skill that allows you to explore your creativity and achieve salon-quality results at home. By following this comprehensive guide, you'll be well on your way to creating stunning acrylic nails that reflect your personal style. Remember, practice makes perfect, so don't be discouraged by initial challenges. Happy nail crafting!


