DIY Nails for Weddings: Stunning Designs You Can Create at Home
Discover DIY nails for weddings with our detailed guide. Create stunning designs at home that will make your special day even more unforgettable.
Weddings are a celebration of love, and every detail counts—including your nails. Whether you're the bride, a bridesmaid, or a guest, having stunning nails can elevate your entire look. In this guide, we'll explore DIY nails for weddings, offering easy-to-follow tips and ideas to create beautiful designs from the comfort of your own home.
Why Choose DIY Nails for Weddings?
Opting for DIY nails can save you time and money, giving you the flexibility to perfect your look exactly as you envision it. With a few tools and a bit of practice, you can create intricate designs that are sure to impress. Plus, doing your nails can be a relaxing activity during the often stressful wedding planning process.
Essential Tools and Supplies
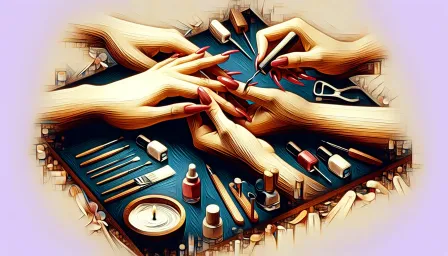
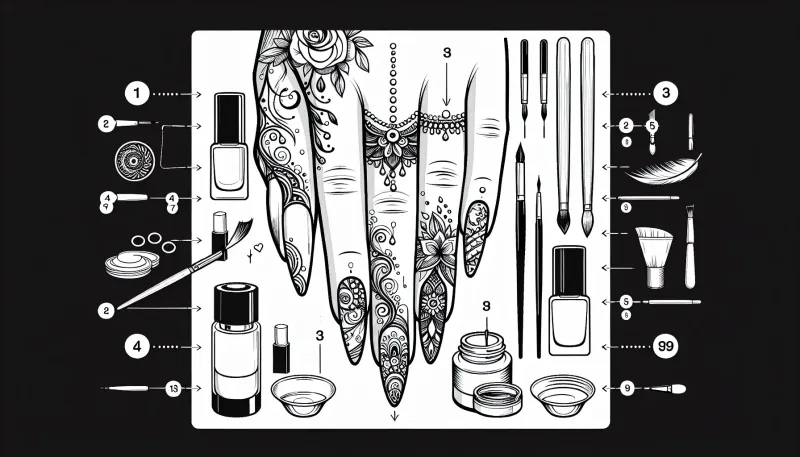
Before you start, make sure you have the essential tools and supplies:
- Nail polish: Base coat, top coat, and colors of your choice
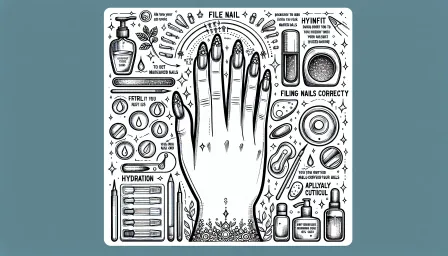
- Nail file and buffer: For shaping and smoothing your nails
- Cuticle oil: To maintain healthy cuticles
- Nail art brushes: For detailed designs
- Dotting tools: Ideal for creating polka dots and other small designs
- Nail stickers and decals: If you prefer ready-made designs
- Glitter and rhinestones: To add some sparkle
- Acetone and cotton pads: For nail polish removal and clean-up
Step-by-Step Guide to Creating Wedding Nail Designs
1. The Classic French Manicure
A French manicure is timeless and elegant, perfect for any wedding theme.
- Start with a base coat to protect your nails.
- Apply two coats of a sheer pink or nude polish.
- Use white nail polish to paint the tips of your nails. You can use French manicure strips for a clean line.
- Finish with a top coat to seal the look and add shine.
2. Floral Nail Art
Floral designs are feminine and versatile, perfect for a wedding.
- Begin with a base coat and two coats of your base color (white or pastel colors work well).
- Use a thin nail art brush to paint small flowers in a different color. You can use dots of different sizes for the petals.
- Add leaves and stems using green nail polish.
- Seal with a top coat to protect your design.
3. Glitter Gradient
Add some sparkle with a glitter gradient that is both chic and glamorous.
- Start with a base coat and your chosen base color.
- Apply glitter polish to a makeup sponge and dab it onto the tips of your nails, gradually moving down to create a gradient effect.
- Finish with a clear top coat to smooth out the glitter.
Expert Tips for Long-Lasting Wedding Nails
To ensure your DIY wedding nails look flawless and last throughout the celebrations, follow these expert tips:
- Preparation: Always prep your nails by cleaning, filing, and buffing before applying polish.
- Thin Layers: Apply thin layers of polish to avoid bubbles and ensure a smooth finish.
- Dry Time: Allow ample drying time between coats to prevent smudges and dents.
- Top Coat: Use a quality top coat to protect your design and add shine.
- Hydration: Keep your cuticles moisturized with cuticle oil to maintain healthy nails.
- Touch-Ups: Carry a small nail kit for touch-ups if needed.
Conclusion
Creating beautiful DIY nails for weddings is a fun and rewarding process. With the right tools and a bit of creativity, you can achieve salon-quality results at home. Whether you opt for a classic French manicure, delicate floral designs, or a glitter gradient, your nails will be a stunning addition to your wedding look. Happy DIY-ing!


