Ultimate Nail Art Tutorial: Master Stunning Designs Step by Step
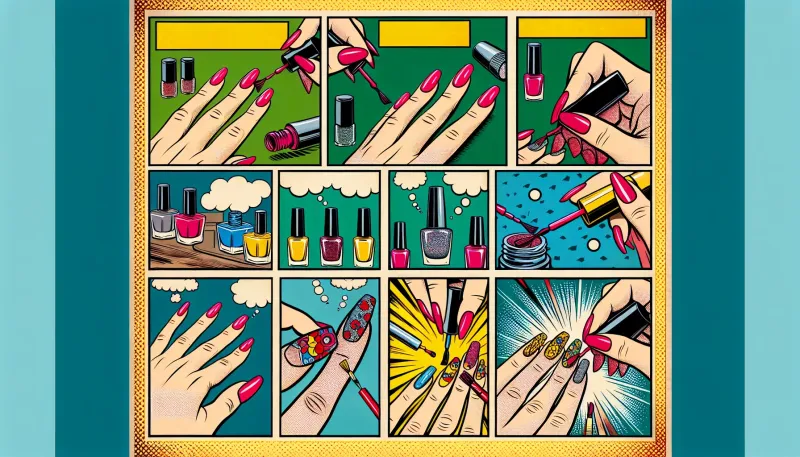
Learn how to create stunning nail art designs with our ultimate tutorial. Follow our step-by-step guide to mastering beautiful nail art.
Welcome to the ultimate nail art tutorial that will elevate your nail game to the next level. Whether you’re a beginner or a seasoned nail enthusiast, this step-by-step guide will help you master a variety of stunning nail designs. Follow along as we cover essential techniques, tools, and tips to achieve beautiful nails that are sure to impress.
Introduction to Nail Art
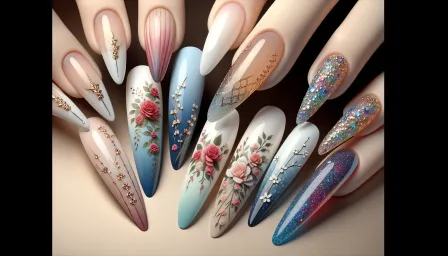
Nail art is a creative way to decorate your nails, involving intricate designs, patterns, and colors. It has become a popular trend in fashion and beauty, allowing individuals to express their personalities and creativity through their nails. In this tutorial, we will explore various aspects of nail art, from basic to advanced techniques, ensuring that you have all the knowledge you need to create gorgeous nail designs.
Essential Tools and Supplies
Before we dive into the nail art tutorial, let's gather the essential tools and supplies you'll need:
- Nail Polish: A variety of colors to suit your designs.
- Base Coat and Top Coat: Essential for protecting your nails and design.
- Nail Art Brushes: Fine brushes for detailed work.
- Dotting Tools: For creating dots and various shapes.
- Nail Stickers and Stencils: For easy application of intricate designs.
- Nail Tape: For creating straight lines and patterns.
- Nail Polish Remover: To clean up any mistakes.
Basic Nail Art Techniques
French Manicure
The French manicure is a classic nail design characterized by a nude or pink base with white tips. Here's how to achieve this look:
- Apply a base coat and let it dry.
- Paint the tips of your nails with white polish. You can use nail guides or tape for precision.
- Once the tips are dry, apply a nude or pink polish over the entire nail.
- Finish with a top coat to seal the design.
Polka Dot Nails
Polka dot nails are fun and easy to create. Follow these steps:
- Apply a base coat and your chosen base color.
- Dip a dotting tool into a contrasting polish color and create dots on your nails. You can add as many or as few as you like.
- Allow the dots to dry and finish with a top coat.
Intermediate Nail Art Techniques
Gradient Nails
Gradient nails blend multiple colors seamlessly. Here's how to achieve the look:
- Apply a base coat and a base color.
- On a makeup sponge, apply two or more colors side by side.
- Gently dab the sponge onto your nails, blending the colors together.
- Repeat until you achieve the desired gradient effect. Finish with a top coat.
Stamping
Nail stamping involves transferring designs from a stamping plate to your nails. Follow these steps:
- Apply a base coat and base color.
- Apply polish to the stamping plate design and scrape off any excess.
- Use a stamper to pick up the design and transfer it to your nail.
- Seal with a top coat.
Advanced Nail Art Techniques
Water Marble Nails
Water marble nails create a unique, swirled design. Here's the process:
- Fill a cup with room temperature water.
- Drop different nail polish colors onto the water's surface to create concentric circles.
- Use a toothpick to swirl the colors together.
- Dip your nail into the water, and use a toothpick to clean up excess polish.
- Remove your nail from the water and clean up the edges with polish remover. Finish with a top coat.
3D Nail Art
3D nail art adds dimension to your designs. These are generally applied using nail glue or special gel. Here's a basic guide:
- Apply a base coat and base color.
- Use nail glue to attach 3D elements like rhinestones, studs, or flowers.
- Gently press the elements into the glue and allow them to dry.
- Finish with a top coat to ensure everything stays in place.
Pro Tips and Tricks
Practice and Patience
Nail art takes time and practice. Don’t get discouraged if your first attempts aren’t perfect. Keep practicing, and you’ll improve over time.
Use Thin Layers
Apply nail polish and top coat in thin layers. This helps prevent bubbling and ensures a smooth finish.
Clean-Up
Mistakes happen. Keep a clean-up brush or cotton swabs and polish remover on hand for quick corrections.
Conclusion
Nail art is a fun and creative way to express yourself. By following this step-by-step nail art tutorial, you can master a variety of stunning designs, from basic to advanced techniques. Remember to gather your essential tools, practice regularly, and be patient with yourself as you develop your skills. With dedication and creativity, you’ll create beautiful, eye-catching nail art that will turn heads.


