Top 5 DIY Nails for Long Nails: Stunning & Easy Designs
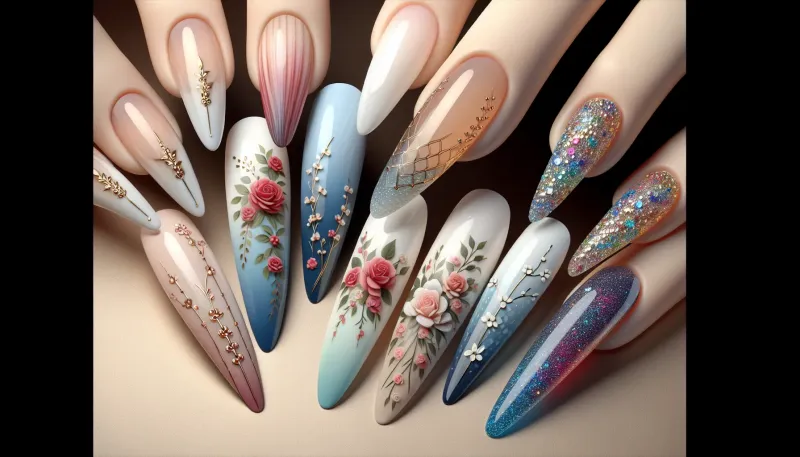
Discover the top 5 DIY nails for long nails that are both stunning and easy to create. Follow our step-by-step guide to achieve salon-quality nail designs at home.
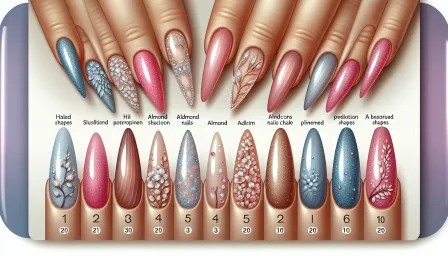
Long nails are a fantastic canvas for creative and intricate designs that can make your hands look elegant and stylish. While visiting a professional nail salon can be expensive and time-consuming, there are numerous DIY nails for long nails that you can effortlessly create at home. In this article, we will explore the top 5 DIY nail designs that are not only stunning but also easy to execute. Let's dive in!
1. Classic French Manicure
The classic French manicure is a timeless design that never goes out of style. It's perfect for both everyday wear and special occasions.
What You'll Need:
- Base coat
- White nail polish
- Sheer pink or nude nail polish
- Top coat
- Nail guides or tape
Steps to Achieve This Look:
- Apply a base coat to protect your nails.
- Once the base coat is dry, place the nail guides or tape just below the tips of your nails to create a clean line.
- Paint the tips of your nails with white nail polish and let it dry completely.
- Remove the guides or tape and apply a coat of sheer pink or nude polish over the entire nail.
- Finish with a top coat to seal the design and add shine.
2. Glitter Gradient Nails
For a sparkly and eye-catching DIY nail design, try creating glitter gradient nails. This design is easy to achieve and perfect for parties or festive occasions.
What You'll Need:
- Base coat
- Colored nail polish of your choice
- Glitter nail polish
- Sponge applicator
- Top coat
Steps to Achieve This Look:
- Apply a base coat to your nails.
- Paint your nails with the base color and let it dry completely.
- On a sponge applicator, apply glitter nail polish.
- Gently dab the sponge on the tips of your nails, gradually working your way down to create a gradient effect.
- Apply a top coat to seal and protect the design.
3. Floral Nail Art
Floral nail art can add a touch of femininity and elegance to your nails. This easy DIY nail art can be customized with your favorite flower designs.
What You'll Need:
- Base coat
- Background nail polish color
- Multiple colors of nail polish for flowers
- Thin nail art brush
- Top coat
Steps to Achieve This Look:
- Start by applying a base coat to your nails.
- Paint your nails with the background color of your choice and let it dry.
- Using a thin nail art brush, create flower shapes with different colors on each nail.
- Once the flowers are dry, add small dots or lines in the center of each flower for detail.
- Seal the design with a top coat.
4. Marble Effect Nails
The marble effect is a sophisticated and elegant design that looks complex but is surprisingly easy to achieve. This DIY nail design is ideal for long nails.
What You'll Need:
- Base coat
- Two or more contrasting colors of nail polish
- Plastic wrap or nail art brush
- Top coat
Steps to Achieve This Look:
- Apply a base coat to your nails.
- Paint your nails with one of the chosen colors and let it dry.
- Apply the second color in random spots over the nails.
- While the polish is still wet, use a piece of plastic wrap or a nail art brush to gently swirl the colors together to create a marble effect.
- Let the design dry and seal it with a top coat.
5. Polka Dot Nails
Polka dot nails are fun, playful, and easy to create. They can be customized with any color combination you like, making them a versatile DIY nail design.
What You'll Need:
- Base coat
- Base nail polish color
- Contrasting colors of nail polish for dots
- Dotting tool or toothpick
- Top coat
Steps to Achieve This Look:
- Start by applying a base coat to your nails.
- Paint your nails with the base color and let it dry.
- Using a dotting tool or the end of a toothpick, dip it into the contrasting nail polish colors and create polka dots on each nail.
- Let the dots dry completely, then apply a top coat to seal the design.
Conclusion
Creating stunning nail designs at home has never been easier. With these top 5 DIY nails for long nails, you can achieve a variety of looks that are both beautiful and manageable. Whether you prefer a classic French manicure or something more intricate like floral nail art, these designs will keep your nails looking fabulous. Remember to always use a base and top coat to protect your nails and extend the life of your designs.
Experiment with different colors and patterns to make each design your own. Happy nail designing!


