Stunning DIY Nails for Winter: Easy and Chic Designs to Try
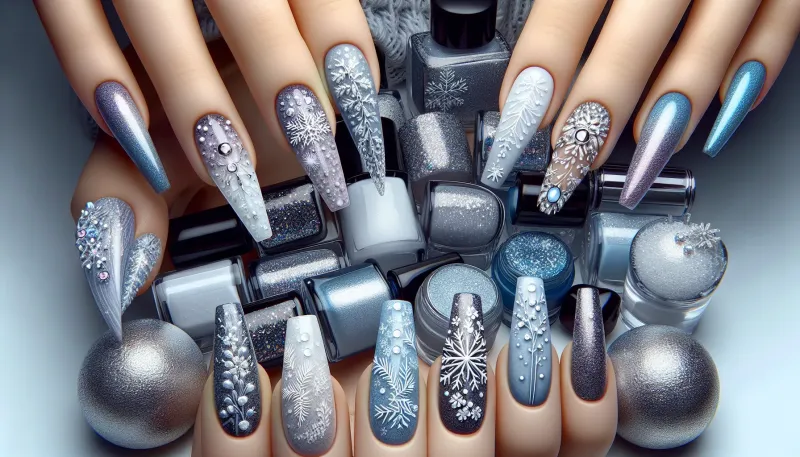
Discover the best DIY nails for winter with our comprehensive guide. Learn easy and chic nail designs to keep your hands stylish and protected this season.
Winter is upon us, and it's the perfect time to adorn your nails with stunning designs that reflect the season's beauty. Whether you're sipping hot cocoa by the fireplace or getting ready for a holiday party, your nails should look their best. In this comprehensive guide, we will explore some easy and chic DIY nails for winter that you can try at home.
The Essentials for Winter Nail Care
Before diving into nail designs, it's crucial to understand the importance of winter nail care. The cold weather can dry out your hands and nails, making them prone to breakage. Here's how to keep your nails healthy:
- Moisturize Frequently: Use a nourishing hand cream daily to keep your skin and nails hydrated.
- Cuticle Care: Apply cuticle oil to prevent dryness and cracking.
- Protective Gloves: Wear gloves when going outside to protect your hands from the cold.
- Hydrate: Drink plenty of water to maintain overall hydration levels.
Top DIY Nail Designs for Winter
1. Classic French Manicure with a Winter Twist
The French manicure is timeless, and adding a winter twist makes it even more appealing. Instead of the traditional white tips, opt for icy blue or silver. This chic design is perfect for all occasions.
Materials Needed:
- Base coat
- Icy blue or silver nail polish
- Top coat
- Nail tape or stickers for precise lines
Steps:
- Apply a base coat to protect your nails.
- Use nail tape to create a clean tip line and paint the tips icy blue or silver.
- Allow the tips to dry before applying the top coat for a long-lasting finish.
2. Snowflake Nail Art
Embrace the winter wonderland with intricate snowflake nail art. This design can be as simple or detailed as you like, making it perfect for beginners and advanced artists alike.
Materials Needed:
- Base coat
- White nail polish
- Nail art brush or dotting tool
- Glitter polish (optional)
- Top coat
Steps:
- Apply the base coat to protect your nails.
- Paint your nails with white nail polish.
- Use a nail art brush or dotting tool to draw snowflakes on each nail.
- For added sparkle, apply glitter polish over the snowflakes.
- Seal the design with a top coat.
3. Cozy Sweater Nails
Nothing says winter like a cozy sweater. Transfer this warm and fuzzy feeling to your nails with sweater-pattern nail art. This 3D design mimics the look of knitted patterns.
Materials Needed:
- Base coat
- Neutral nail polish (beige, grey, or soft pink)
- Nail art brush or dotting tool
- Matte top coat
Steps:
- Protect your nails with a base coat.
- Apply two coats of your chosen neutral polish.
- Using a nail art brush or dotting tool, create sweater-like patterns (cable knits, dots, etc.) on each nail.
- Finish with a matte top coat to give your nails that soft, fabric-like appearance.
Additional Tips for Perfect DIY Winter Nails
Here are some extra pointers to ensure your DIY winter nails look salon-quality:
- Prep Properly: Always start with clean, filed nails.
- Invest in Quality Tools: Good brushes and tools can make a significant difference.
- Practice Patience: Nail art takes time, so don’t rush through the process.
- Experiment with Textures: Use matte, glossy, and glitter finishes to add dimension to your designs.
- Watch Tutorials: Plenty of online resources can provide step-by-step guidance.
Conclusion
This winter, let your nails steal the spotlight with these easy and chic DIY designs. Taking the time to care for your nails and experiment with new styles can be a fun and rewarding way to embrace the season's spirit. Remember, the most important thing is to enjoy the process and let your creativity shine.


