The Ultimate Guide to Nail Extensions for Natural Nails

Discover everything you need to know about nail extensions for natural nails, from types and benefits to care tips and precautions.
Nail extensions are a popular beauty enhancement for those looking to add length, strength, and durability to their natural nails. Whether you're new to nail extensions or looking to deepen your knowledge, this comprehensive guide will provide you with all the essential information you need.
What are Nail Extensions?
Nail extensions are artificial structures that are added onto the natural nail to extend its length. They can be made from various materials, including acrylic, gel, and silk. Nail extensions are glued, molded, or sculpted over the natural nail and shaped to achieve the desired look.
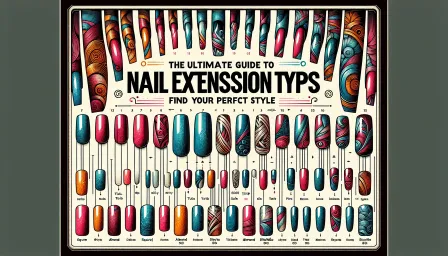
Types of Nail Extensions
There are several types of nail extensions available, each with its own set of benefits and drawbacks. Here are the most common types:
- Acrylic Extensions: Made from a mixture of liquid monomer and powder polymer, acrylic extensions are durable and long-lasting. They are ideal for those looking for a strong and sturdy extension.
- Gel Extensions: These are made from a special gel that is cured under a UV or LED lamp. Gel extensions often have a more natural appearance and are less likely to cause damage to the natural nail.
- Silk Extensions: Silk extensions use a silk wrap or fabric applied over the natural nail. They are lightweight and flexible but may not be as long-lasting as acrylic or gel extensions.
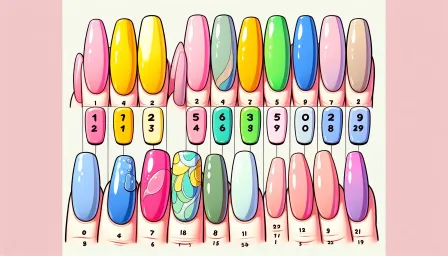
Benefits of Nail Extensions for Natural Nails
Nail extensions offer a variety of benefits for individuals looking to enhance the appearance and toughness of their nails. Some of the key advantages include:
- Instant Length: Nail extensions provide immediate length to short or brittle nails, giving them a polished and elegant appearance.
- Stronger Nails: They can reinforce weak or thin natural nails, making them less prone to breaking or splitting.
- Versatility: Nail extensions allow for endless possibilities in nail art and design, making it easy to experiment with different styles.
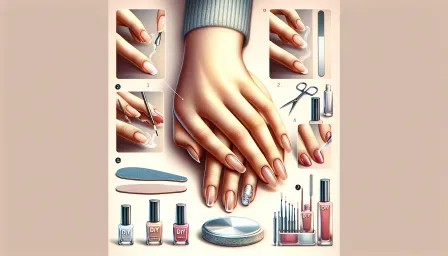
How to Apply Nail Extensions
Applying nail extensions requires precision and care to ensure they stay secure and look natural. While it's recommended to seek professional services for the best results, you can also apply them at home with the right tools and techniques. Here's a step-by-step guide:
Step 1: Preparation
Begin by cleaning and sanitizing your hands. Remove any old nail polish and gently file your natural nails to create a smooth surface for the extensions to adhere to.
Step 2: Choosing the Right Extensions
Select the type of extensions that best meet your needs. Whether you go for acrylic, gel, or silk, ensure that you have all the necessary materials and tools.
Step 3: Application
Follow the specific instructions for your chosen extension type. For example, acrylic extensions involve mixing the liquid monomer with the powder polymer, while gel extensions require curing under a UV light.
Step 4: Shaping and Buffing
Once the extensions are applied, use a nail file to shape them to your desired length and style. Buff the surface to smooth out any rough edges and create a natural finish.
Step 5: Finishing Touches
Apply a base coat, followed by your chosen nail polish color. Finish with a top coat to seal and protect the extensions.
Maintenance and Care Tips
Proper maintenance and care are crucial to extending the life of your nail extensions and keeping your natural nails healthy. Here are some tips:
- Avoid Water Exposure: Prolonged exposure to water can weaken the adhesive and cause the extensions to lift. Wear gloves when doing household chores or washing dishes.
- Regular Fills: Visit your nail technician for regular fills every 2-3 weeks to maintain the appearance and strength of your extensions.
- Nourish Your Nails: Use cuticle oil and hand moisturizer regularly to keep your nails and skin hydrated.
- Avoid Harsh Chemicals: Steer clear of acetone-based nail polish removers and other harsh chemicals that can damage the extensions.
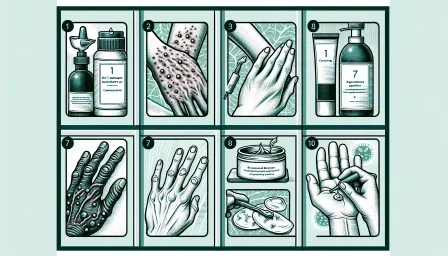
Common Issues and Solutions
Even with the best care, you may encounter some common issues with nail extensions. Here are a few problems and their solutions:
- Lifted Extensions: If you notice your extensions lifting, avoid peeling them off as this can damage your natural nail. Instead, gently file the edge and apply a small amount of nail glue.
- Breakage: If an extension breaks, trim it down and file the edges to prevent further damage. You may need to visit your nail technician for a repair.
- Infections: Signs of infection include redness, swelling, and pain. If you suspect an infection, remove the extensions and consult a healthcare professional.
Removing Nail Extensions
Proper removal of nail extensions is essential to prevent damage to your natural nails. Here are the steps to follow:
Step 1: Soak in Acetone
Soak your nails in an acetone solution for 15-20 minutes to soften the extensions. Use a cotton ball soaked in acetone and place it on each nail, wrapping the fingertip in foil to keep it in place.
Step 2: Gently Remove
After soaking, use a wooden cuticle stick or a nail buffer to gently lift and remove the softened extensions. Avoid using excessive force to prevent damage.
Step 3: Hydrate
Once the extensions are removed, hydrate your nails and cuticles with oil or a nourishing cream to restore moisture.
Conclusion
Nail extensions for natural nails offer a fantastic way to enhance the appearance and strength of your nails. By choosing the right type of extensions, following proper application and care techniques, and addressing any issues promptly, you can enjoy beautiful and durable nails. Whether you opt for professional services or decide to apply them yourself, the key is to be patient and gentle to maintain the health of your natural nails.
RELATED ARTICLES


LATEST ARTICLES