Easy Steps for Safe Nail Extensions Removal at Home
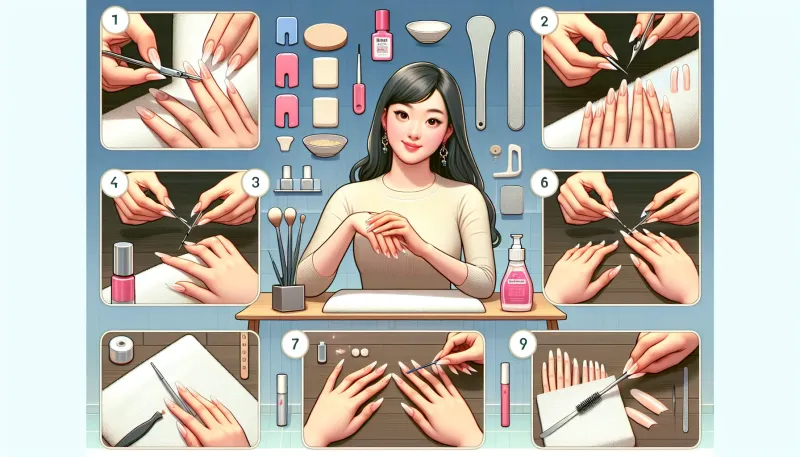
Learn easy and safe steps for nail extensions removal at home. Follow our well-researched guide to keep your nails healthy without a trip to the salon.
Removing nail extensions at home can be a daunting task, but with the right techniques and tools, it doesn't have to be. This article explains step-by-step how to safely remove your nail extensions without causing harm to your natural nails, ensuring you can confidently maintain your nails from the comfort of your home.
Understanding Nail Extensions
Before diving into the removal process, it's essential to understand the different types of nail extensions and how they adhere to your natural nails. The most common types include acrylics, gels, and dip powders. Each of these has unique properties and removal requirements. Thus, knowing what type of extension you have will help you choose the right removal method.
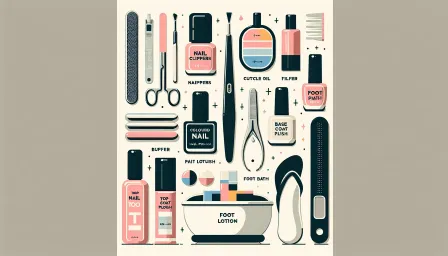
Required Tools and Materials
- Acetone (or non-acetone remover for gentler removal)
- Cotton balls or pads
- Aluminum foil
- Nail clipper
- Nail file
- Cuticle pusher
- Buffer
- Moisturizing hand cream or oil
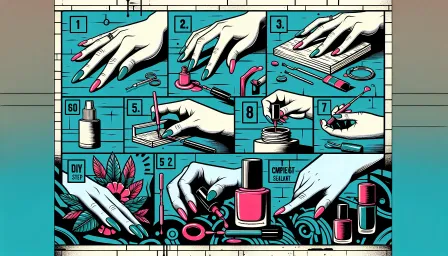
Step-by-Step Guide for Nail Extensions Removal
Step 1: Preparation
Start by gathering all your tools and materials. Ensure you’re working in a well-ventilated area to avoid inhaling fumes from the acetone.
Step 2: Trim the Extensions
Use a nail clipper to carefully trim down the length of your nail extensions. This makes the removal process faster and more manageable. Be cautious not to clip too close to your natural nail to avoid damage.
Step 3: Buff the Top Layer
Use a nail file to gently buff away the top layer of the extensions. This step helps break the seal on the glossy topcoat, allowing the acetone to penetrate more effectively.
Step 4: Soak in Acetone
Soak cotton balls or pads in acetone and apply them to each nail. Wrap each finger in aluminum foil to keep the cotton balls in place and to intensify the soaking process. Leave the foil wraps on for at least 20-30 minutes. If you’re using non-acetone remover, you might need to soak your nails for a longer period.
Step 5: Remove Foils and Extensions
Carefully unwrap the foil from one nail at a time. Using a cuticle pusher, gently push off the softened extension material. If the extensions aren't coming off easily, reapply the acetone-soaked cotton and wrap again for an additional 10 minutes.
Step 6: Buff and Smooth
Once the extensions are removed, use a buffer to gently smooth the surface of your natural nails. This step helps remove any leftover extension material and smooth out any rough edges.
Step 7: Moisturize
Finalizing the removal process, wash your hands thoroughly to remove any residual acetone. Then, apply a generous amount of moisturizing hand cream or oil to rehydrate your nails and skin. Acetone can be extremely drying, so this step is crucial to keeping your nails healthy and strong.
Tips for Maintaining Healthy Nails Post-Removal
After removing nail extensions, your natural nails may need some extra care. Here are some tips to maintain their health:
- Avoid reapplying extensions immediately to give your nails time to recover.
- Keep your nails trimmed and filed to prevent brittleness.
- Regularly apply cuticle oil to keep your nails and cuticles hydrated.
- Consider using a strengthening base coat to provide extra protection.
Conclusion
With the right approach, nail extensions removal at home can be a safe and effective process. By following the steps outlined above, you can maintain the health of your natural nails while enjoying the flexibility of at-home nail care. Remember to be patient and gentle throughout the process to avoid damage. Healthy and beautiful nails are just a few careful steps away!


