DIY Nails for Beginners: Step-by-Step Guide to Perfect Nails at Home
Learn how to achieve salon-quality nails at home with this step-by-step guide for beginners. Discover essential tools, techniques, and tips for DIY nails.
Achieving salon-quality nails at home can seem daunting for beginners, but with the right tools, techniques, and patience, you can master the art of DIY nails for beginners. This comprehensive guide will walk you through the step-by-step process of creating perfect nails from the comfort of your home.
Introduction
Doing your own nails can be a relaxing and rewarding experience. It saves money, allows for creativity, and gives you control over the products used. Whether you're looking to create a simple manicure or a more elaborate nail art design, this guide will help you get started with ease. We'll cover everything from choosing the right tools to applying polish and maintaining your manicure.
Essential Tools and Materials
Before you begin, gather the necessary tools and materials to ensure a smooth process:
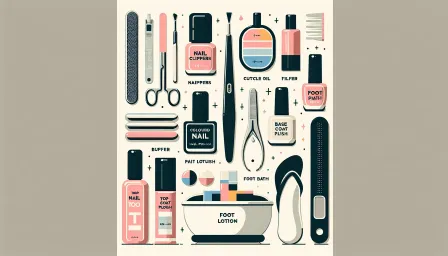
Nail Clippers and File
A good pair of nail clippers and a quality file are crucial for shaping and maintaining your nails. Opt for a glass or crystal file for the best results.
Cuticle Pusher and Trimmer
Caring for your cuticles is essential for a neat appearance. A cuticle pusher helps gently push back the cuticles, while a trimmer can be used to remove any excess skin.
Buffer
A buffer helps smooth the nail surface, ensuring an even application of polish.
Base Coat, Top Coat, and Nail Polish
Invest in a good-quality base coat to protect your nails and a top coat to extend the life of your manicure. Choose nail polishes from reputable brands for the best results.
Additional Tools
Other useful items include a nail brush, cotton pads, nail polish remover, and cuticle oil.
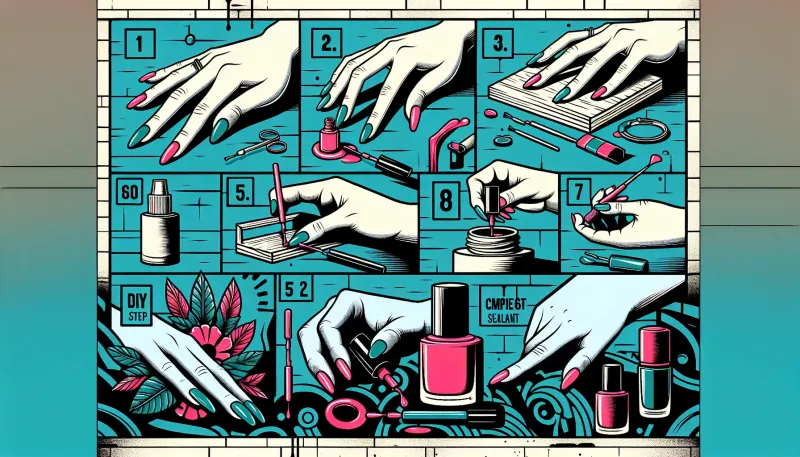
Step-by-Step DIY Manicure
Step 1: Preparation
Start by removing any old nail polish using a gentle, acetone-free remover. Wash your hands thoroughly to remove any residue.
Step 2: Shape Your Nails
Trim your nails to your desired length using nail clippers. Use a file to shape the edges, moving the file in one direction to avoid splitting.
Step 3: Soften and Push Back Cuticles
Soak your nails in warm, soapy water for a few minutes to soften the cuticles. Use a cuticle pusher to gently push them back, then trim any excess skin with a cuticle trimmer.
Step 4: Buff the Nails
Use a buffer to smooth the surface of your nails, creating a clean base for polish application.
Step 5: Apply Base Coat
Apply a thin layer of base coat to each nail. This helps protect your natural nails and provides a smooth surface for the nail polish.
Step 6: Apply Nail Polish
Choose your favorite nail polish color and apply a thin layer to each nail. Allow the first coat to dry before applying a second coat for optimal coverage.
Step 7: Apply Top Coat
Once the nail polish is dry, apply a top coat to seal and protect your manicure. This will add shine and extend the life of your nail polish.
Maintenance Tips
Maintaining your DIY manicure ensures it lasts longer and looks fresh. Here are some tips:
Reapply Top Coat
Adding a layer of top coat every few days can help prevent chipping and maintain shine.
Moisturize
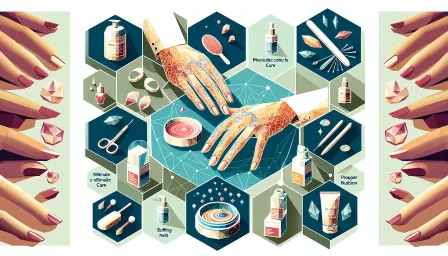
Regularly moisturize your hands and cuticles with a good hand cream or cuticle oil to keep them healthy and hydrated.
Avoid Harsh Chemicals
Use gloves when doing household chores to protect your nails from harsh chemicals and excessive water exposure.
Conclusion
With practice and patience, anyone can achieve beautiful, salon-quality nails at home. This guide to DIY nails for beginners provides all the information you need to get started. From gathering the right tools to mastering the application process, follow these steps to create stunning nails that you'll be proud of. Remember, consistency is key to maintaining your manicure, so take care of your nails regularly to keep them looking their best.


