Master the Art: How to Do Acrylic Nails at Home
Learn how to do acrylic nails at home with this step-by-step guide. Discover tips, tools, and techniques for achieving salon-quality results in the comfort of your own home.
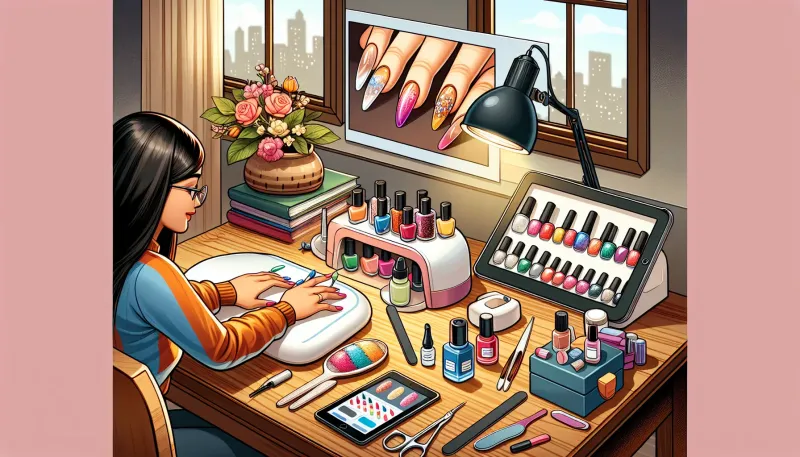
In today's fast-paced world, the ability to do your own acrylic nails at home is not just a cost-effective option but also a skill that can bring you immense satisfaction and convenience. Whether you're new to the world of acrylic nails or looking to refine your technique, this guide will provide you with a comprehensive step-by-step approach to achieving salon-quality results in the comfort of your own home.
Understanding Acrylic Nails
Before diving into the process, it's essential to understand what acrylic nails are. Acrylic nails are created by combining a liquid monomer and a powder polymer, resulting in a hard, protective layer that's applied over your natural nails. This layer can be shaped, filed, and painted to your preference, offering durability and a long-lasting aesthetic.
Essential Tools and Materials
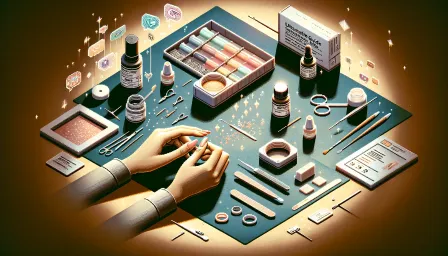
Tools You'll Need
- Nail clippers
- Nail file
- Buffer
- Cuticle pusher and nippers
- Acrylic nail tips and glue
- Acrylic liquid (monomer)
- Acrylic powder (polymer)
- Dappen dish
- Brush for acrylic application
- Primer
- Topcoat
- Nail polish (optional)
- Lint-free wipes
- Alcohol or nail cleanser
Step-by-Step Guide to Apply Acrylic Nails at Home
1. Prepare Your Nails
Start with clean, dry nails. Remove any old nail polish and wash your hands thoroughly. Trim and file your nails to your desired length and shape. Push back your cuticles with a cuticle pusher and gently trim any excess skin using cuticle nippers.
2. Apply Nail Tips
Select the appropriate size of nail tips for each finger. Apply a small amount of nail glue to the tip and affix it to the edge of your natural nail. Press and hold the tip for a few seconds to ensure it adheres properly. Trim and shape the tips as needed.
3. Prepare the Acrylic Mixture
Pour a small amount of acrylic liquid into a dappen dish. Dip the brush into the liquid and then into the acrylic powder to create a small bead. The consistency should be workable but not too runny. Practice creating several beads until you get a feel for the right mixture.
4. Apply the Acrylic
Starting at the base of your nail, place the acrylic bead and gently pat it into place. Work your way down the nail, smoothing and shaping the acrylic as you go. Make sure to cover the entire nail surface evenly. Repeat this process for each nail. Allow the acrylic to dry completely.
5. Shape and Finish
Once the acrylic has cured, use a nail file and buffer to shape and smooth the surface of the nails. Remove any dust with a lint-free wipe soaked in alcohol or nail cleanser.
6. Apply Primer and Topcoat
Apply a thin layer of primer to each nail to enhance adhesion. Once dry, apply a topcoat to seal and protect your acrylic nails. You can also apply nail polish if desired. Allow the topcoat to dry completely before using your hands.
Maintenance Tips for Acrylic Nails
Maintaining your acrylic nails properly will extend their lifespan and keep them looking fresh:
- Avoid using your nails as tools to open or scrape things.
- Moisturize your cuticles regularly to prevent dryness.
- Use gloves when doing household chores or when working with chemicals.
- Schedule fill-ins every 2-3 weeks to maintain the appearance and health of your nails.
Common Mistakes to Avoid
Here are some common pitfalls to be aware of:
- Applying acrylic too thickly, which can lead to lifting and breakage.
- Skipping the primer step, resulting in poor adhesion.
- Using cheap or low-quality products that can damage your nails.
- Rushing through the drying process, causing imperfections and weak spots.
Conclusion
Doing your own acrylic nails at home is a rewarding skill that allows for creativity and personalization. By following the steps outlined in this guide and practicing regularly, you can achieve salon-quality results. Remember to take your time, use quality products, and always prioritize the health of your natural nails. Happy manicuring!


