Master Contouring Makeup Techniques for Sculpted Features: A Complete Guide
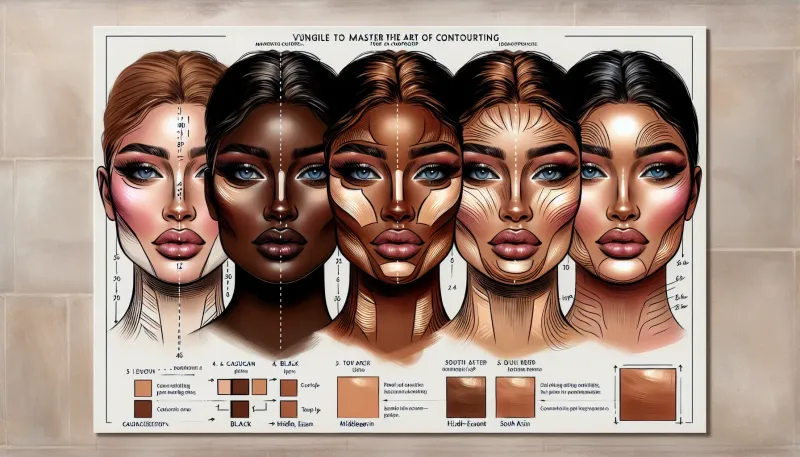
Discover expert contouring makeup techniques for sculpted features with our comprehensive guide. Learn tips and tricks to enhance your natural beauty.
Contouring has evolved into a makeup technique that enhances facial features, creating a sculpted, chiseled look with a few strokes of a brush. Whether you’re a beginner or an experienced makeup enthusiast, mastering contouring makeup techniques for sculpted features can bring transformative results. In this guide, we’ll walk you through everything you need to know to master the art of contouring.
Understanding Contouring
Contouring is a makeup technique that plays with shadows and highlights to create the illusion of depth and dimension on the face. By using darker shades to create shadows and lighter shades to highlight certain areas, you can define and enhance your natural features.
The Basics of Contouring
The fundamental principle of contouring is to darken the areas you want to recede and highlight the areas you want to bring forward. Typically, contour shades are matte, while highlighting involves lighter, sometimes shimmery shades.
Essential Tools and Products
Before diving into the techniques, it’s crucial to have the right tools and products. Here’s a list of essentials:
- Contour Powder or Cream: Choose a product that is one to two shades darker than your skin tone.
- Highlighting Powder or Cream: Typically one to two shades lighter than your skin tone, often with a subtle shimmer.
- Contour Brushes: Angled brushes for precision application and blending.
- Blending Sponge: For a seamless blend between contour and highlight.
- Setting Powder: To lock the look in place.
Step-by-Step Guide to Contouring
Follow these steps to achieve beautifully sculpted features:
1. Prep Your Skin
Start with a clean, moisturized face. Apply your foundation and concealer as usual to create an even base.
2. Apply Contour
Using your contour product, apply it to the areas you want to define:
- Cheekbones: Apply below your cheekbones, starting from the ear and blending towards the middle of the cheek.
- Forehead: Apply along your hairline to minimize the forehead.
- Jawline: Apply along the jawline to create a sharp, defined look.
- Noseline: Apply along the sides of the nose for a slimmer appearance.
3. Blend
Use a contour brush or blending sponge to blend the contour into your skin. The key is to blend well to avoid harsh lines.
4. Apply Highlighter
Apply the highlighter to the high points of your face:
- Cheekbones: Above the contour line.
- Forehead: The center of your forehead.
- Nose: Down the bridge of your nose.
- Cupid’s Bow: Above your upper lip.
5. Set Your Makeup
Finish with a light dusting of setting powder to keep your contour and highlight in place all day.
Advanced Contouring Techniques
Reverse Contouring
Instead of adding dark shades, reverse contouring uses a lighter concealer to highlight areas, giving a lifted appearance without adding heavy shadows.
Layering Products
For a more defined look, layer cream contour with a powder contour. This technique provides extra depth and long-lasting wear.
Common Contouring Mistakes and How to Avoid Them
Using the Wrong Shade
Ensure your contour shade is only one to two shades darker than your skin tone to avoid a muddy appearance.
Harsh Lines
Blend thoroughly to ensure there are no visible lines between your foundation, contour, and highlight.
Over-Contouring
Less is more. Start with a small amount of product and build up as needed.
Conclusion
Mastering contouring makeup techniques for sculpted features takes practice and patience, but with the right tools, knowledge, and techniques, you can achieve a beautifully defined look. Remember to blend well, choose the correct shades, and build up the product gradually for the best results. Happy contouring!


