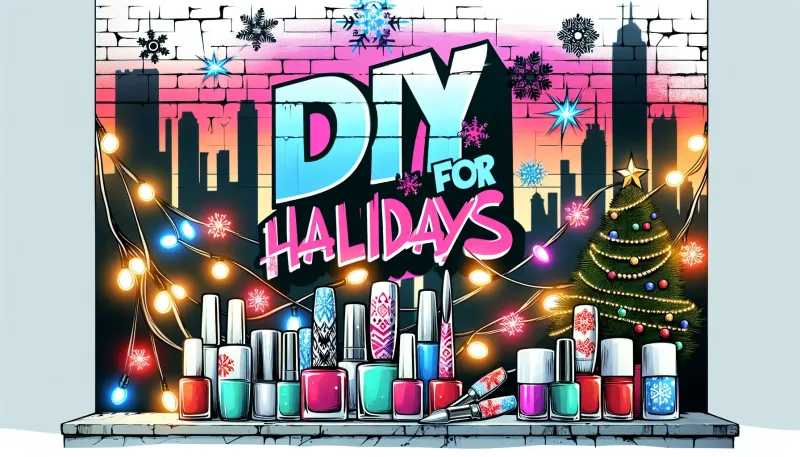
Stunning DIY Nails for Holidays That You’ll Absolutely Love
Discover stunning DIY nail ideas for the holidays. Learn how to create festive designs at home with our step-by-step guide. Perfect for beginners and pros alike!
The holiday season is the perfect time to get creative with your nail game. Whether you're planning to attend a glitzy party or simply want to add some festive flair to your everyday look, DIY nails for the holidays can be both fun and economical. This guide will walk you through some of the best holiday nail ideas, complete with step-by-step instructions to help you achieve a salon-quality finish right at home.
Why Choose DIY Nails for the Holidays?
The appeal of DIY nails goes beyond just saving money. Here's why you should consider giving it a try:
- Cost-Effective: Save on expensive salon visits by doing your nails at home.
- Customizable: Tailor your designs to fit your personal style and holiday theme.
- Convenience: No need to book an appointment; you can do it on your own schedule.
Essential Tools and Supplies
Before you dive into creating stunning DIY holiday nails, make sure you have the following tools and supplies:
- Nail Polish: A variety of colors, including festive shades like red, green, gold, and silver.
- Base Coat and Top Coat: For durability and shine.
- Nail Art Brushes: For intricate designs.
- Dotting Tools: To create dots and other detailed elements.
- Nail Stickers and Stencils: For easy, professional-looking designs.
- Nail File and Buffer: To prep your nails.
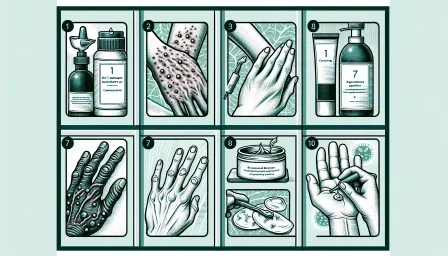
Step-by-Step DIY Holiday Nail Designs
Classic Red and Gold Gradient
A red and gold gradient is both elegant and festive. Here’s how to achieve this look:
- Prep Your Nails: File and buff your nails, then apply a base coat.
- Apply Red Polish: Paint your nails with a solid red color as the base.
- Create the Gradient: Use a sponge to dab gold polish onto the tips of your nails, working your way up for a gradient effect.
- Seal and Shine: Finish with a top coat to seal in the design and add shine.
Snowflake Nail Art
Snowflakes are a perfect winter theme. Achieve this delicate design as follows:
- Base Color: Start with a light blue or white base coat.
- Draw Snowflakes: Use a thin brush to draw detailed snowflakes in white or silver on each nail.
- Add Details: Enhance the design with small dots and lines to mimic snowfall.
- Top Coat: Apply a clear top coat for protection and shine.
Festive Glitter Bomb
Glitter nails are always a hit during the holidays. Follow these steps for a sparkling look:
- Base Coat: Apply a clear base coat to protect your nails.
- Glitter Polish: Choose a glitter polish that complements your holiday outfit and apply generously.
- Layer Up: For extra sparkle, apply multiple layers, allowing each to dry before adding the next.
- Top Coat: Finish with a thick top coat to smooth the surface and enhance shine.
Tips and Tricks for Long-Lasting DIY Nails
Ensure your DIY holiday nails last as long as possible with these insider tips:
- Clean Nails: Make sure your nails are free of oils and residues before applying polish.
- Thin Layers: Apply multiple thin layers of polish instead of one thick layer for better durability.
- Seal the Edges: Cap the free edge of your nails with polish to prevent chipping.
- Moisturize: Keep your cuticles hydrated with cuticle oil for a healthy look.
Conclusion
DIY nails for the holidays are a fantastic way to showcase your creativity and add a personal touch to your festive look. With the right tools, a little practice, and the designs provided in this guide, you’ll be ready to impress everyone at your next holiday gathering. Remember, the key is patience and practice, so don’t be discouraged if your first attempt isn’t perfect. Happy holidays and happy painting!
RELATED ARTICLES


LATEST ARTICLES