Step-by-Step Guide to the Hair Extension Removal Process
Learn how to safely remove hair extensions in this comprehensive step-by-step guide. Discover expert tips, tools, and techniques for a smooth hair extension removal process.
Hair extensions can be a fantastic way to add length and volume to your hair. However, there comes a time when they need to be removed. Proper hair extension removal is crucial to avoid damaging your natural hair. This step-by-step guide will walk you through the hair extension removal process safely and effectively.
Understanding Different Types of Hair Extensions
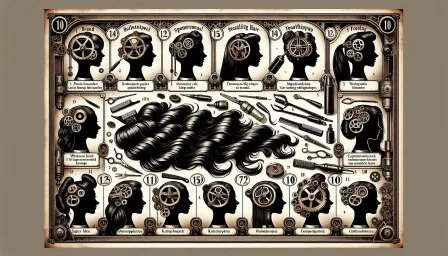
Before diving into the hair extension removal process, it’s important to understand the different types of hair extensions, as each type requires a different removal method.
1. Clip-in Hair Extensions
Clip-in hair extensions are the easiest to remove as they are attached using small clips. They are less damaging and can be reused.
2. Tape-in Hair Extensions
Tape-in hair extensions are attached using a special adhesive. These require a bit more care during removal to avoid adhesive residue.
3. Fusion/Keratin Bonded Extensions
Fusion or keratin bonded extensions are attached with a keratin-based glue. This method involves a more complex removal process, often requiring a dissolvent.
4. Sew-in or Weave Extensions
Sew-in extensions are sewn into braids of your natural hair. Removal involves cutting the threads without damaging your own hair.
5. Micro-Link Extensions
Micro-link extensions are attached using small beads or rings. Proper tools are needed to open the beads and remove the extensions.
Preparing for Hair Extension Removal
Preparation is key to a smooth hair extension removal process. Here are some steps you should take before starting:
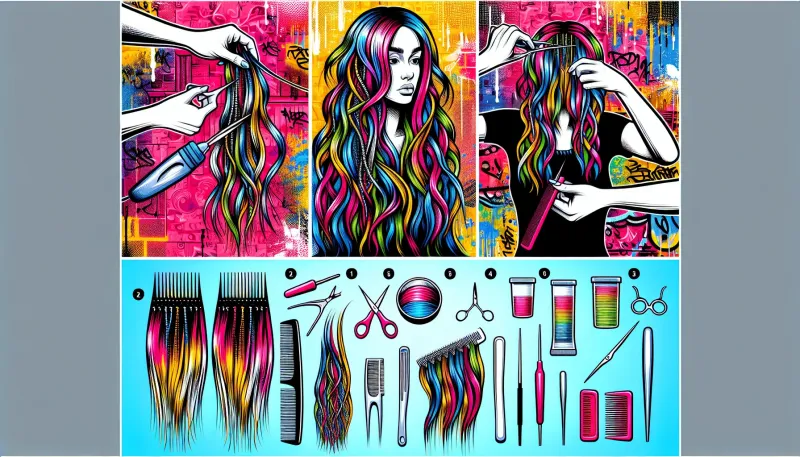
Gather the Right Tools
Having the correct tools is essential for a damage-free removal. Depending on the type of extensions, you may need the following:
- Wide-tooth comb
- Extension removal solvent (for glue-in extensions)
- Thread scissors (for sew-in extensions)
- Small pliers (for micro-link extensions)
- Hair clips
Divide and Section Your Hair
Dividing your hair into manageable sections will make the removal process easier and prevent tangling. Use hair clips to secure each section.
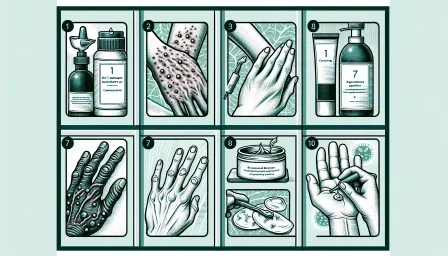
Step-by-Step Removal Process for Each Type
Removing Clip-in Hair Extensions
1. Locate the clips: Use your fingers to feel for the clips at the root of the extension.
2. Open the clips: Gently press the clips to release them.
3. Slide out: Carefully slide the extension out, avoiding pulling on your natural hair.
Removing Tape-in Hair Extensions
1. Apply the adhesive remover: Use a specially formulated tape-in extension remover. Spray or apply it to the weft of the tape.
2. Let it sit: Allow the remover to sit for a few minutes to dissolve the adhesive.
3. Gently peel off the extensions: Slowly peel the tape off from one corner, ensuring not to tug on your natural hair.
Removing Fusion/Keratin Bonded Extensions
1. Apply the bond dissolvent: Use a keratin bond remover solution. Apply it directly to the bonded area.
2. Break down the bonds: Allow the solution to sit and break down the keratin bonds.
3. Slide the extensions out: Gently pull the extension away from your natural hair once the bonds are dissolved.
Removing Sew-in or Weave Extensions
1. Identify the threads: Locate where the extensions are sewn into your braids.
2. Cut the threads: Use small, sharp scissors to cut the threads carefully, avoiding your natural hair.
3. Unravel and remove: Gently unravel and remove the extensions. Untangle your hair with a wide-tooth comb afterward.
Removing Micro-Link Extensions
1. Locate the micro-beads: Find the small beads used to attach the extensions.
2. Use pliers: Carefully use the pliers to open the beads.
3. Slide out the extensions: Gently slide the extensions out once the beads are opened.
Post-Extension Removal Care
After removing your hair extensions, it’s crucial to take care of your natural hair to restore its health and strength.
Deep Conditioning Treatment
Apply a deep conditioning treatment to your hair to replenish moisture and repair any damage caused by the extensions.
Trim the Ends
Consider trimming the ends of your hair to remove any breakage or split ends that may have occurred during the extension wear.
Allow Your Scalp to Breathe
Give your scalp some time to breathe and recover from the tension of the extensions before opting for a new set.
Common Mistakes to Avoid
1. Rushing the Process: Patience is key; rushing can lead to hair damage.
2. Using Excessive Force: Never yank or pull the extensions. Always be gentle.
3. Skipping the Right Tools: Invest in the right tools for safe removal.
4. Ignoring Aftercare: Proper aftercare is essential to maintain healthy hair.
Conclusion
Removing hair extensions can be a delicate task, but with the right knowledge and tools, you can do it safely and effectively. Follow this step-by-step guide to ensure a smooth hair extension removal process and remember to care for your natural hair post-removal to keep it healthy and strong.
RELATED ARTICLES


LATEST ARTICLES