Step-by-Step Guide to Perfect Gel Nails at Home
Discover how to achieve perfect gel nails at home with our step-by-step guide. Learn about the materials you'll need, the preparation process, application, cure times, and aftercare.
Achieving salon-quality gel nails at home might seem daunting, but with the right techniques and tools, it's entirely possible. This comprehensive guide will walk you through each step, from preparation to application and aftercare, ensuring you achieve stunning, long-lasting results. Whether you're a beginner or looking to refine your skills, this article will arm you with all the knowledge you need.
Why Choose Gel Nails?
Gel nails have become increasingly popular due to their durability, shine, and versatility. Unlike regular nail polish, gel polish can last up to three weeks without chipping or fading. Additionally, gel nails dry instantly under a UV or LED lamp, allowing you to go about your day without worrying about smudges or smears.
Tools and Supplies You'll Need
Before getting started, gather the following materials:
- UV or LED Nail Lamp
- Base Coat, Gel Polish, and Top Coat
- Nail File and Buffer
- Nail Clippers and Cuticle Pusher
- Lint-Free Wipes and Rubbing Alcohol
- Nail Cleanser or Cotton Balls
- Cuticle Oil
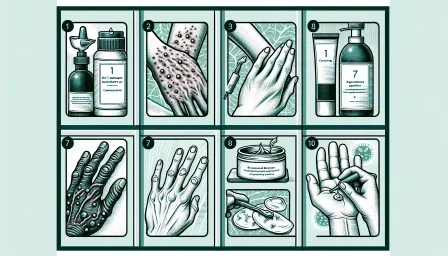
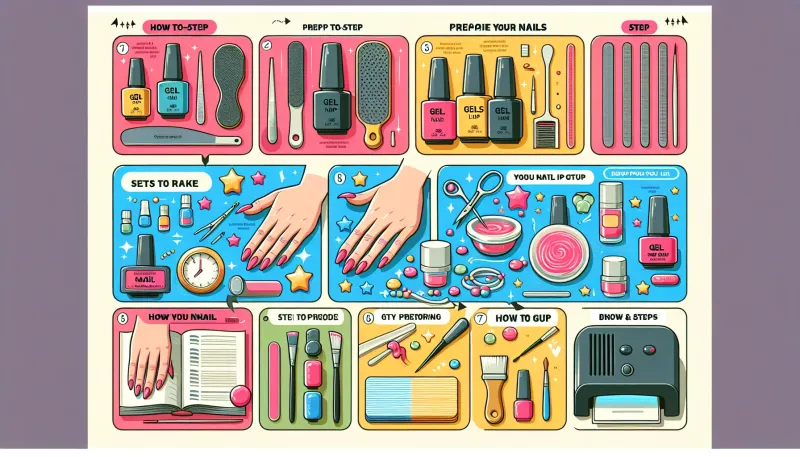
Step 1: Nail Preparation
Clean and Shape Your Nails
Start by removing any old nail polish using an acetone-based remover. Trim and file your nails to your desired shape. Use a buffer to gently smooth the surface of your nails. This helps the gel polish adhere better.
Push Back and Trim Cuticles
Gently push back your cuticles with a cuticle pusher and trim any excess skin. Be careful not to cut too much, as this can cause bleeding and increase the risk of infection.
Step 2: Applying the Base Coat
Apply a thin layer of base coat to your nails, making sure to cover the entire nail surface. Avoid getting the base coat on your skin, as this can cause lifting. Cure the base coat under your UV or LED lamp for the time specified by the manufacturer (usually 30 seconds to 1 minute).
Step 3: Applying the Gel Polish
First Layer of Gel Polish
Apply a thin layer of your chosen gel polish color. Thinner layers help prevent the polish from wrinkling during the curing process. Cure this layer under the UV or LED lamp according to the product instructions.
Second Layer of Gel Polish
Apply a second thin layer of gel polish to ensure an even, opaque finish. Cure this layer under the lamp as well. Depending on the color and brand of gel polish, you may need to apply a third layer. Always ensure each layer is fully cured before applying the next.
Step 4: Applying the Top Coat
Apply a thin layer of top coat to seal in the color and add shine. The top coat also provides an extra layer of protection, helping your gel nails last longer. Cure the top coat under the UV or LED lamp for the recommended time.
Step 5: Aftercare and Maintenance
Wipe Off the Tacky Layer
After curing the top coat, you'll notice a tacky layer on your nails. Use a lint-free wipe soaked in rubbing alcohol to gently remove this layer. Your nails should now be smooth and shiny.
Apply Cuticle Oil
Hydrate your cuticles by applying a nourishing cuticle oil. This helps maintain healthy nails and cuticles, promoting growth and preventing dryness.
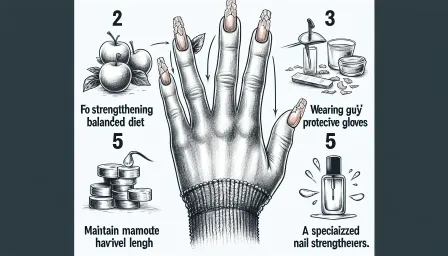
Maintaining Your Gel Nails
To prolong the life of your gel nails, avoid using your nails as tools. Wear gloves when doing household chores, and apply cuticle oil regularly to keep nails and cuticles moisturized.
Troubleshooting Common Issues
Gel Polish Lifting
If your gel polish lifts, it may be due to improper nail preparation or applying layers that are too thick. Ensure your nails are clean, dry, and well-prepped before application and apply thin layers of polish.
Bubbling or Wrinkling
Bubbles or wrinkles in your gel polish can occur if the layers are applied too thickly or if the polish is not cured correctly. Apply thin, even layers and follow the manufacturer's curing instructions closely.
Conclusion
Doing gel nails at home can be both rewarding and cost-effective. By following this step-by-step guide, you can achieve salon-quality results right from your own living room. Remember, practice makes perfect, so don't be discouraged if your first attempt isn't flawless. With the right tools and techniques, you'll be showcasing beautiful, durable gel nails in no time.
RELATED ARTICLES


LATEST ARTICLES