Best Contour Techniques for Round Face Shapes: A Step-by-Step Guide
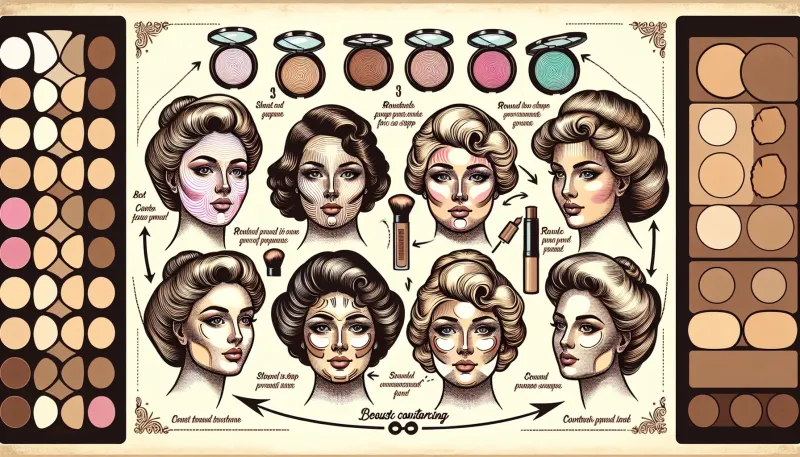
Discover the best contour techniques for round face shapes with our step-by-step guide. Learn how to enhance your natural features with expert tips and tricks.
Contouring is an essential makeup technique that can completely transform your look by enhancing your natural features. For individuals with round face shapes, it can be particularly effective at adding definition and creating a more sculpted appearance. In this comprehensive guide, we will explore the best contour techniques for round face shapes, providing you with detailed steps to achieve a flawless finish.
Understanding Round Face Shapes
Before we dive into the contour techniques, it's crucial to understand what characterizes a round face shape. Typically, round faces have a similar width and height with a rounded jawline and hairline. The cheeks are usually fuller, giving the face a more circular appearance. The goal of contouring for round face shapes is to create the illusion of length and definition.
Essential Tools and Products for Contouring
To achieve the best results, you need the right tools and products. Here are the essentials:
- Contour Products: Cream or powder contour products in a shade two to three times darker than your skin tone.
- Highlighter: A highlighter that is one to two shades lighter than your skin tone.
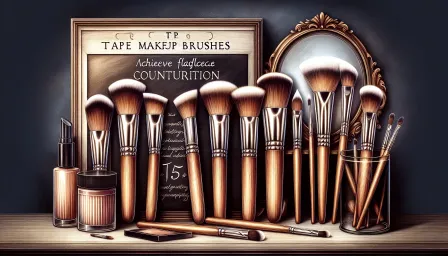
- Blending Brushes and Sponges: High-quality blending brushes or sponges to ensure a seamless finish.
- Setting Powder: A translucent setting powder to lock the contour in place.
Step-by-Step Contour Techniques for Round Face Shapes
Step 1: Preparation
Start with a clean, moisturized face. Apply your foundation and concealer as usual to create an even canvas. This step is crucial for ensuring your contour blends smoothly with your base makeup.
Step 2: Contouring Key Areas
With your contour product, focus on the following areas to create definition:
- Cheekbones: Apply contour below your cheekbones starting from the ear and blending towards the middle of the cheeks. This adds depth and creates the illusion of higher, more defined cheekbones.
- Jawline: Contour along the jawline to create a more angular appearance.
- Forehead: Apply contour along the sides of the forehead, closer to the hairline. This can help narrow the appearance of a broader forehead.
- Temple: Adding contour to the temples will help elongate the face.
- Nose: For a slimmer nose, apply a thin line of contour on either side of the bridge of your nose.
Step 3: Highlighting
Highlight the high points of your face to bring forward your features:
- Cheekbones: Apply highlighter directly above where you've contoured, on the tops of your cheekbones.
- Bridge of the Nose: Add a small amount of highlighter down the center of your nose.
- Forehead: Lightly apply highlighter in the center of your forehead.
- Cupid's Bow and Chin: Highlight the cupid's bow for fuller-looking lips and add a touch to the center of the chin.
Step 4: Blending
Blending is critical to achieve a natural look. Use a blending brush or sponge to blend out the contour and highlighter. Make sure there are no harsh lines and that everything transitions smoothly into your foundation.
Step 5: Setting
Use a translucent setting powder to set your contour and highlight. This will ensure that your makeup stays in place throughout the day and prevents any unwanted shine.
Additional Tips and Tricks
Here are some additional tips to enhance your contouring routine:
- Choose the Right Shades: Picking the correct shades for contouring and highlighting is crucial. Too dark or too light can look unnatural.
- Practice, Practice, Practice: Contouring can be tricky. Practice regularly to perfect your technique.
- Blend Well: The key to a natural contour is flawless blending. Spend a little extra time on this step to ensure a seamless finish.
- Adapt to Different Lightings: Check your makeup in different lighting to ensure it looks natural in all settings.
Conclusion
Contouring for round face shapes can dramatically enhance your natural features, giving you a more defined, sculpted look. By understanding your face shape, using the right tools and products, and following these step-by-step techniques, you can achieve professional-looking results at home. Remember to practice and experiment with different techniques to find what works best for you. Happy contouring!


