How to Remove Acrylic Nails Safely at Home: A Step-by-Step Guide
Learn how to remove acrylic nails safely at home with this comprehensive step-by-step guide. Discover expert tips and techniques for safe and effective acrylic nails removal.
Acrylic nails can give your hands a glamorous look, but removing them safely at home can be a daunting task. Fear not, as this step-by-step guide will walk you through the process of acrylic nails removal in a simple, safe, and effective manner. This article aims to provide you with the knowledge and confidence needed to remove your acrylic nails without damaging your natural nails.
Why Proper Acrylic Nail Removal is Important
Proper acrylic nails removal is crucial to prevent damage to your natural nails. Incorrect removal techniques can lead to weakened, brittle, or even infected nails. By following a safe removal method, you ensure that your nails remain healthy and strong.
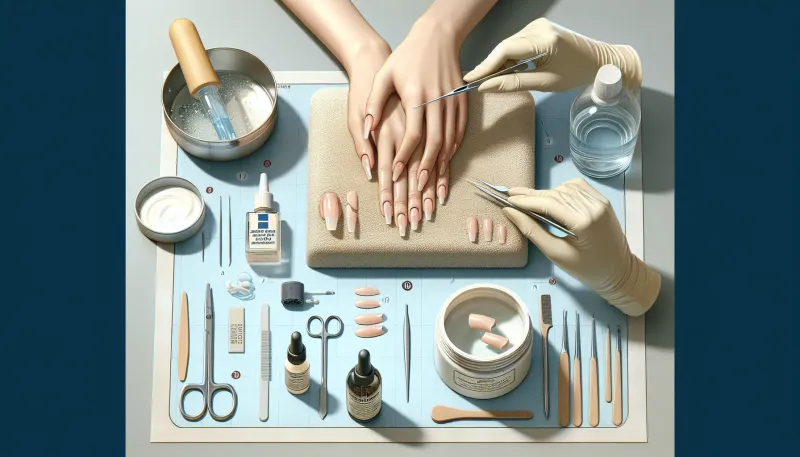
Tools and Materials You Will Need
Before you begin the acrylic nails removal process, gather the following tools and materials:
- Acetone (Pure acetone is recommended)
- Nail file
- Nail buffer
- Cuticle pusher or orangewood stick
- Aluminum foil
- Cotton balls or pads
- Cuticle oil
- Moisturizing hand cream
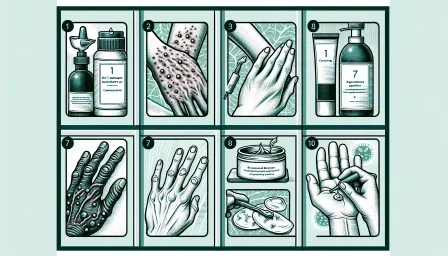
Step-by-Step Guide to Remove Acrylic Nails at Home
Step 1: Trim Your Nails
Using a nail clipper, carefully trim the length of your acrylic nails. This will make the removal process shorter and easier. Be cautious not to cut too close to your natural nail.
Step 2: File Off the Topcoat
Using a coarse nail file, gently file away the topcoat and any colored polish on your acrylic nails. This step is crucial as it allows the acetone to penetrate the acrylic more effectively.
Step 3: Prepare Your Acetone Soak
Soak cotton balls or pads in pure acetone. Place the soaked cotton onto each nail and wrap it with a small piece of aluminum foil to hold it in place. The foil helps to keep the acetone from evaporating and ensures it stays in contact with your nails.
Step 4: Let Your Nails Soak
Allow your nails to soak in the acetone for about 15-20 minutes. This softens the acrylic, making it easier to remove. You might feel a slight tingling sensation, which is normal. If you feel any burning or discomfort, remove the acetone immediately and rinse your hands with water.
Step 5: Gently Remove the Acrylic
After soaking, gently push off the softened acrylic using a cuticle pusher or orangewood stick. If you encounter resistance, avoid forcing the acrylic off. Instead, reapply acetone and soak for a few more minutes before trying again.
Step 6: Buff and Shape Your Nails
Once the acrylic is removed, use a nail buffer to smooth out any rough edges on your natural nails. Gently shape them with a nail file to your desired length and style.
Step 7: Moisturize and Nourish
Massaging cuticle oil into your nails and cuticles helps to rehydrate and nourish them. Follow up with a good quality hand cream to keep your hands soft and moisturized.
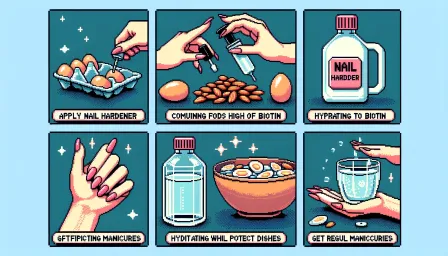
Additional Tips for Healthy Nails Post-Acrylic Removal
To ensure your natural nails remain healthy after acrylic nails removal, consider the following tips:
- Avoid using your nails as tools to open or scrape objects.
- Incorporate a nail strengthener into your routine to help reinforce your natural nails.
- Keep your nails hydrated with regular applications of cuticle oil and hand cream.
- Consider giving your nails a break from acrylics to allow them to recover and grow stronger.
Conclusion
Properly removing acrylic nails at home is essential to maintain the health and integrity of your natural nails. By following the steps outlined in this guide, you can safely and effectively remove your acrylic nails without causing damage. Remember, patience and gentleness are key to ensuring a smooth and successful acrylic nails removal process. Keep your nails nourished and take the time to care for them, and you'll enjoy beautiful, healthy nails once again.
RELATED ARTICLES


LATEST ARTICLES