Easy Steps for Perfect DIY Nails at Home
Discover how to achieve perfect DIY nails at home with our easy-to-follow guide. Learn the best tips, tools, and techniques for a professional-looking manicure.
Beautiful nails don’t always need a visit to the salon. With the right tips and tools, you can achieve stunning DIY nails at home. Whether you're saving money or simply enjoying the art of nail care, this guide offers you easy, effective ways to get the perfect manicure right in your own space.
Getting Started: Essential Tools and Products
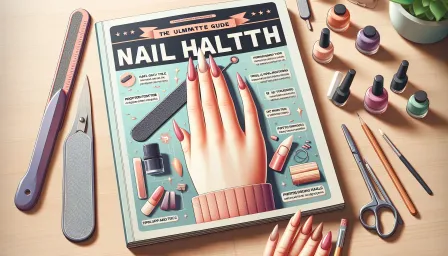
Before diving into the process, it's crucial to have the right tools and products on hand. Here’s what you need:
- Nail Clippers and File: Basic tools for trimming and shaping your nails.
- Cuticle Pusher and Nippers: Essential for neatly attending to your cuticles.
- Buffer: To smooth the surface of your nails for a better polish application.
- Base Coat: Protects your nails and provides a smooth surface for polish.
- Nail Polish: Choose your favorite colors.
- Top Coat: For a long-lasting, shiny finish.
- Nail Polish Remover: To correct any mistakes and prep nails.
- Moisurizer and Cuticle Oil: Keeps your hands and nails hydrated and healthy.
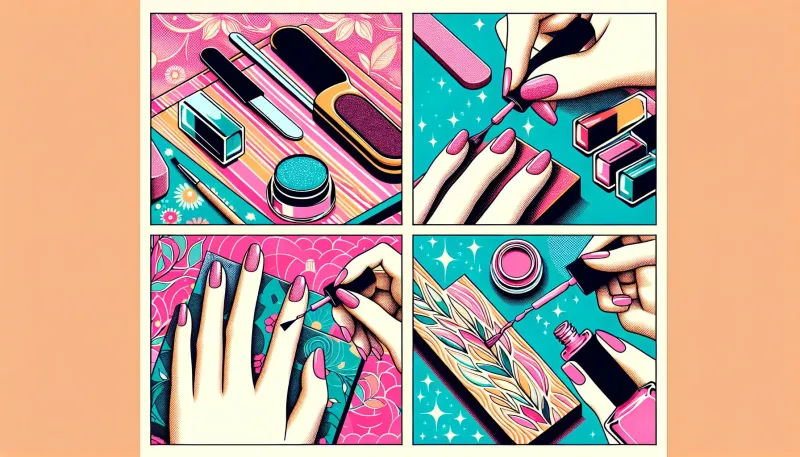
Step-by-Step Guide to DIY Nails at Home
1. Nail Prep
Begin by removing any old nail polish. Use a gentle,acetone-free nail polish remover to avoid damaging your nails.
2. Trimming and Filing
Trim your nails to your desired length using nail clippers. Follow up with a nail file to shape the edges gently. Remember to file in one direction to prevent splitting.
3. Cuticle Care
Soak your nails in warm, soapy water for a few minutes to soften your cuticles. Use a cuticle pusher to gently push them back, and trim any excess skin with cuticle nippers. Moisturize with cuticle oil.
4. Buffing
Buff your nails lightly to smooth the surface. This step ensures a more even application of nail polish and helps the color adhere better.
5. Applying Base Coat
Start with a thin layer of base coat to protect your nails and provide a smooth canvas for your polish. Let it dry completely.
6. Polish Application
Apply your chosen nail polish color in thin, even coats. Usually, two coats are sufficient for an opaque finish. Allow each coat to dry before applying the next.
7. Top Coat
Finish with a high-quality top coat to seal in your color and add shine. This also extends the life of your manicure.
Expert Tips for Achieving the Best Results
- Thin Layers: Applying polish in thin layers prevents smudges and ensures a more even finish.
- Clean-Up: Use a small brush dipped in nail polish remover to clean up the edges for a professional look.
- Dry Time: Allow ample drying time between each step to avoid dents or smudges.
- Regular Maintenance: Keep nails looking fresh with regular touch-ups and moisturizing.
Common Challenges and Their Solutions
Chipped Polish
If your polish chips, lightly file the area and apply a touch-up color and top coat. For severe chips, it's best to start over with a fresh application.
Air Bubbles
Air bubbles can be avoided by rolling the polish bottle between your hands instead of shaking it, which introduces air.
Peeling
Ensure your nails are completely dry and free of oils before starting. This helps the polish adhere better and prevents peeling.
Conclusion: Enjoy Your DIY Nails at Home
With these easy steps and expert tips, you're well on your way to achieving perfect DIY nails at home. Remember that practice makes perfect, so don’t get discouraged if your first attempt isn’t flawless. Enjoy the process, experiment with colors and designs, and take pride in your beautiful, self-made manicure!


